Ingredients:
2 small spaghetti squash (Or one medium)
 1 pound of meat of your choice. We picked some ground Italian pork because it was cheap. But feel free to do ground turkey or whatever you want.
1/2 cup of chopped onion
1/2 cup of chopped green pepper
1/2 cup of chopped mushrooms
3 garlic cloves, minced
1/2 teaspoon of dried basil
1/2 teaspoon of dried oregano
3 medium tomatoes, diced
1/2 cup of shredded mozzarella, or cheese of choice
Salt and Pepper to taste
 First preheat your oven to 375 degrees. As your oven is preheating cut your spaghetti squash in half. Now if you have a medium one this can be a struggle. There's been a few times where I could be found sitting on the kitchen floor with my knife fully stuck in a spaghetti squash trying to bang it on the floor to get it all the way through. It gets easier though! But as I was saying, you're going to want to cut the squashes in half and then gut the seeds out of it. Like a cantaloupe! Once that is done you will place them gut side down on a cookie sheet and put them in the oven for 40-45 minutes.
While those are cooking, start browning your meat of choice. Don't worry about seasoning it this point, just brown it and drain it. As you're cooking that, take the time to dice up your onions, tomatoes, peppers, and mushrooms. Make sure to dice them small, but not small enough to be considered minced.

Once the ground meat is done, remove from the stove and drain all grease. We will then add all of the chopped veggies and seasonings. We will cook these on low until the onion is cooked fully and the flavors get a good mixture.

Depending on how long this takes, your squash should be done or close to done. Remove the squash from the oven and give it 5-10 minutes to cool. It will still be hot to the touch after this but not so much where you can't touch it when needed. Flip the squash over and, using a fork, scrape out the insides. Now make sure you leave some inside because we will be using the "shell" later on. Take about a cup out of each half if using two small ones, or two cups of each if using a big one.

Add the squash into the skillet with the meat mixture and mix well. Cook on a low heat for about 10 minutes, until all liquid has evaporated. Make sure to mix once about every two minutes.

As you are cooking the mixture, take time to shred the cheese. You might have bought preshredded too, but just so you do know, the way that they keep that cheese from clumping in that bag is they add wood pulp. Cleaner foods equals a better you!
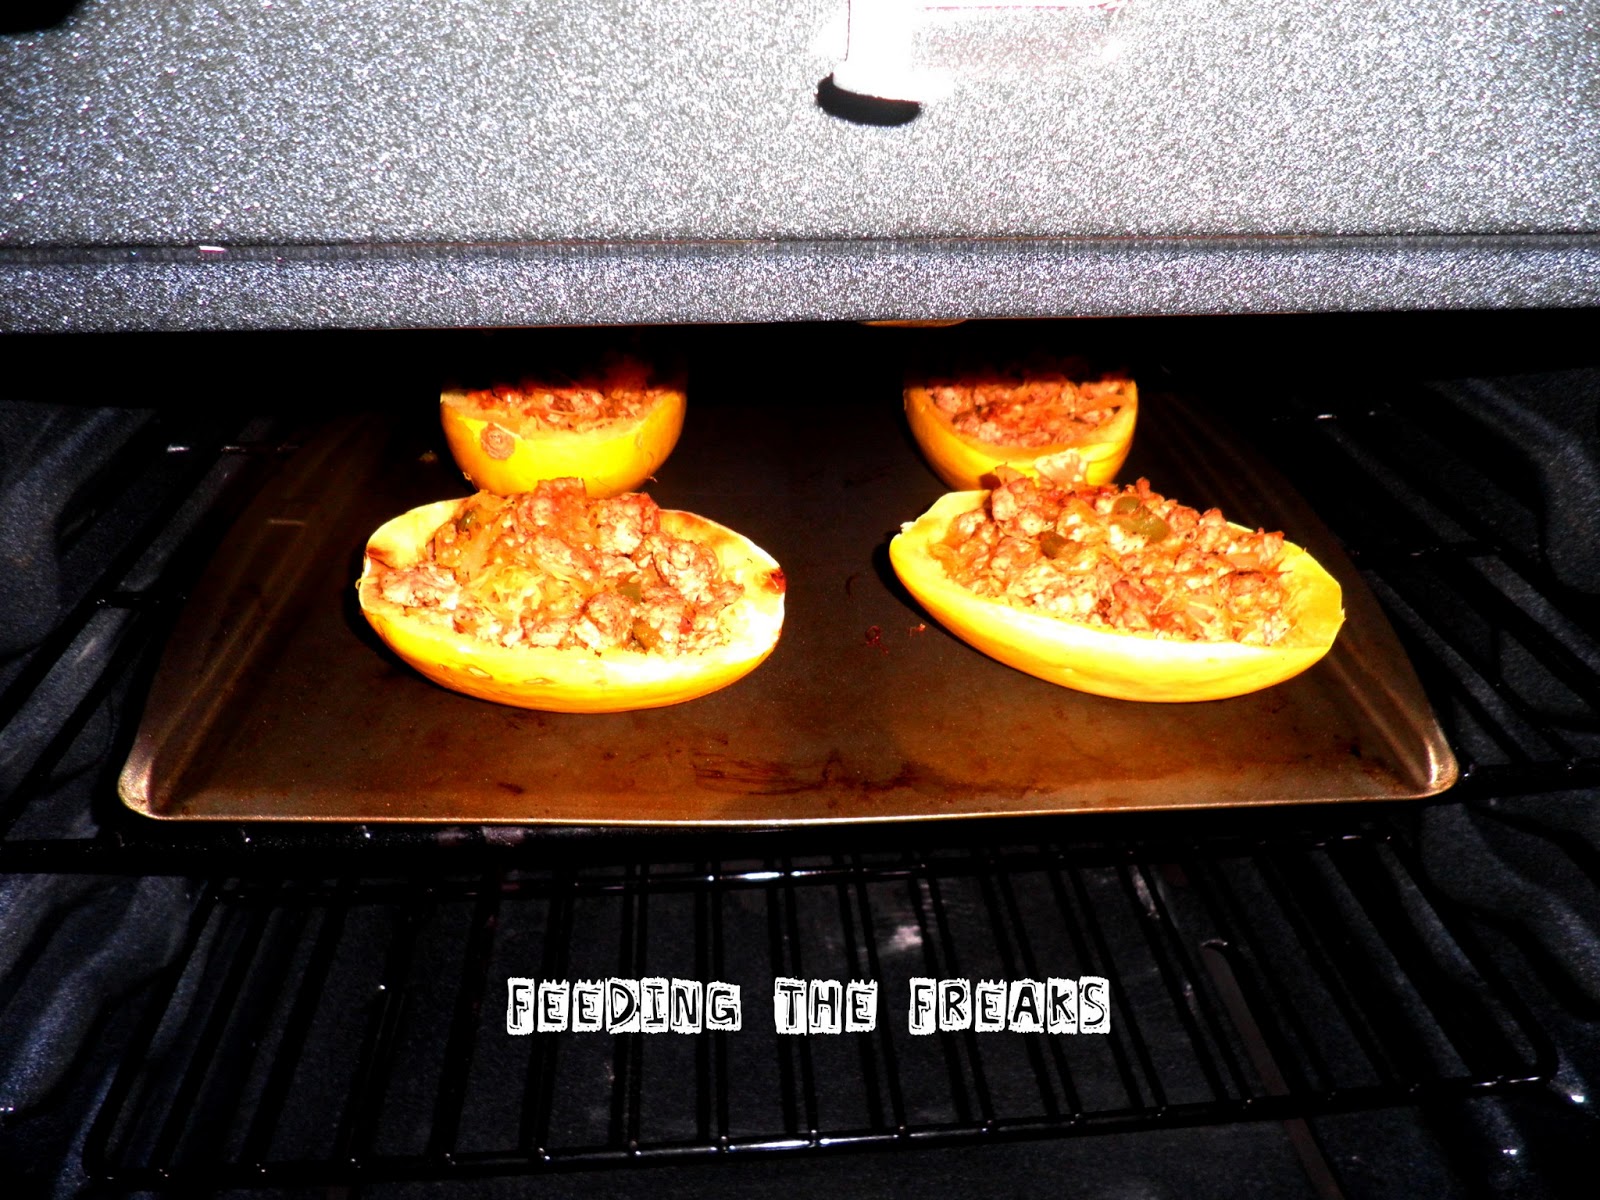
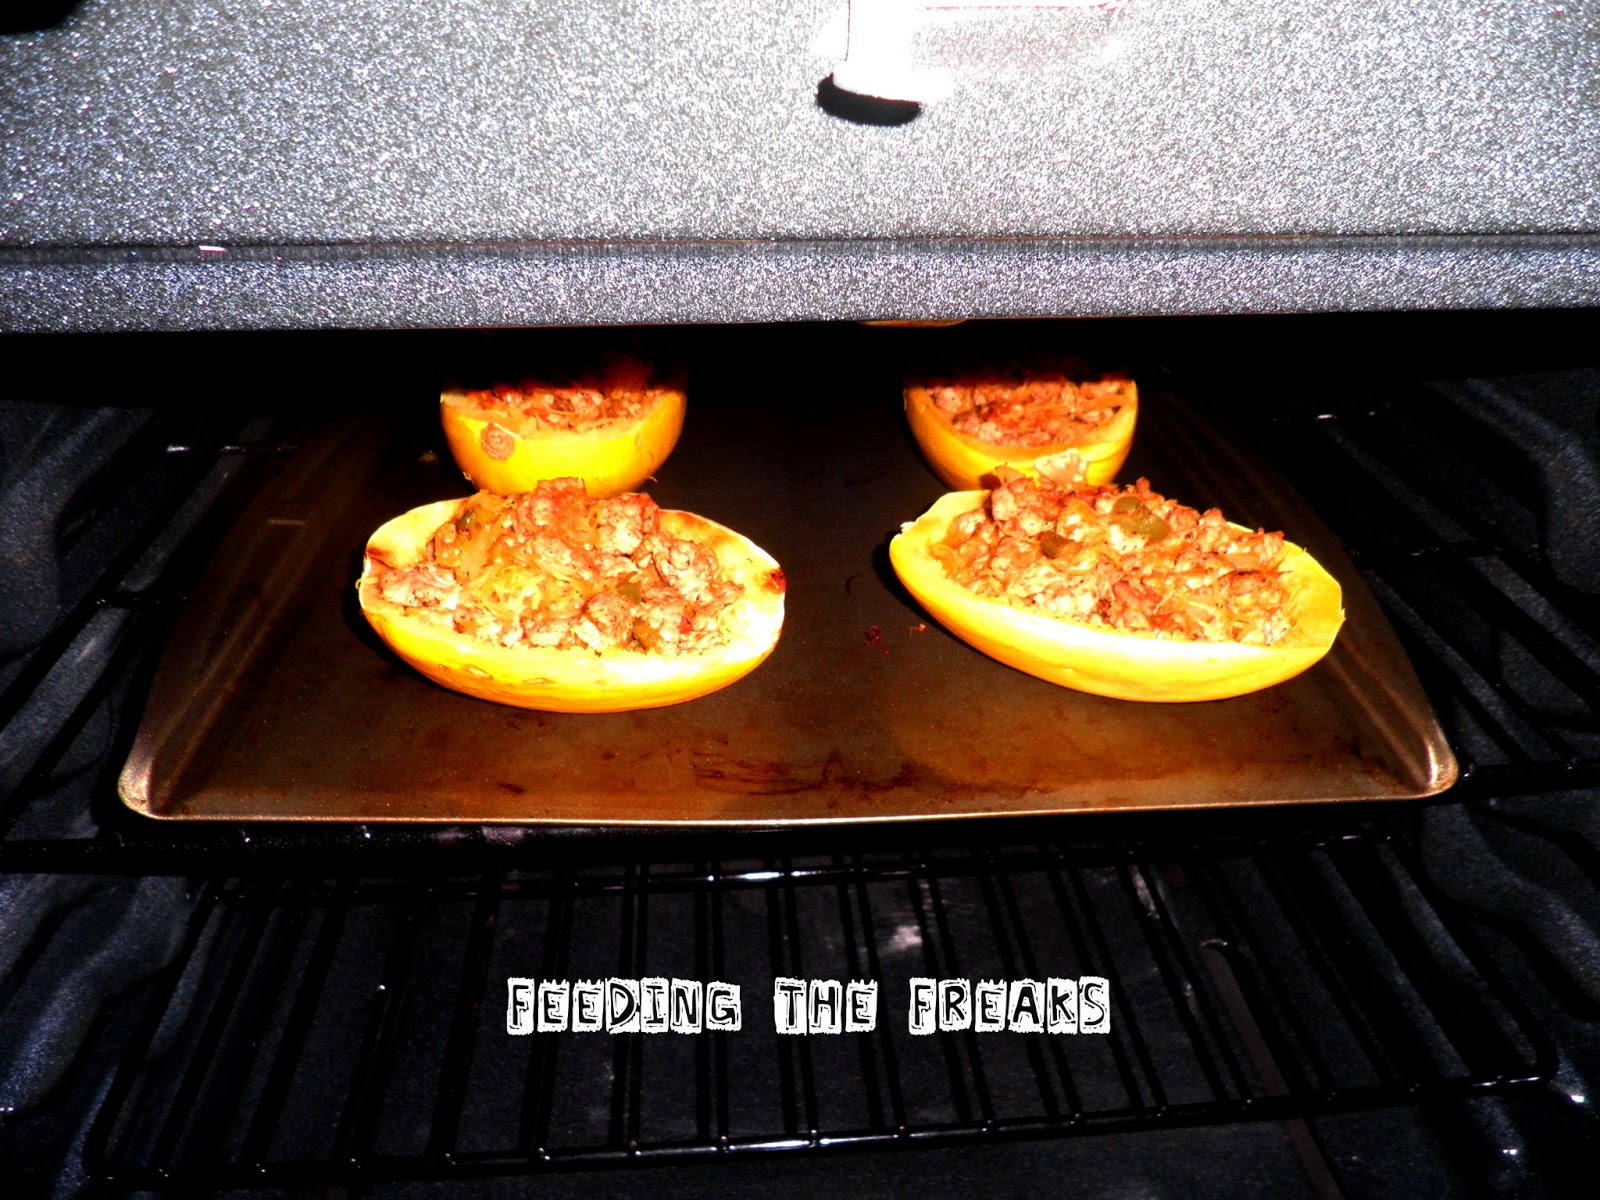
Once you are done with the cheese and your meat mixture, take the four, or two, shells that you have and equally put the meat mixture in the squash shells. Bake these at 350 degrees for about 15 minutes. Once those are done add your cheese and bake for about another 5 minutes.
And there you go! Not only do you have an amazing dinner that tastes oh so good, but you are also eating something healthy! And this is something that you can play with and make healthier if you wanted.

And as an extra treat I have a second recipe for you. Now this is something that I literally dreamed up. I've really been thinking about rice bowls lately. Trying to figure out a way to make them with spaghetti squash. I don't really have pictures for step by step since I wasn't even making this for the blog, but after eating it and seeing how good it was I wanted to share. Not only did this get the thumbs up by BBB, but my picky eater friend Stephy Bee also nommed this down!
Ingredients:
Four cups of spaghetti squash
One cup of frozen peas
One cup of carrots chopped up
One cup of cabbage shredded
4 eggs
2 tablespoons of soy sauce
1 tablespoon of brown sugar
2 tablespoons of sesame oil
3 tablespoons of water
Bake spaghetti squash with the same instructions of above recipe. As squash is baking, heat up sesame oil and saute the veggies. Once squash is done, take a fork to it and get about four cups of "noodles" out. Mix veggies and squash into a decent size bowl. Take soy sauce, brown sugar, and water and mix together, and then pour into the squash and veggies and mix well. Set aside and fry up your four eggs. Split the squash mixture into four different bowls and lay one fried egg onto each bowl. EAT AWAY!!!