Showing posts with label salt. Show all posts

Wednesday, March 20, 2013

Dublin Coddle


Hey Everyone Alyssa JoJo here! I hope you all had a good St Patties day weekend. I know I did! Saturday we went to go visit some family for my Irish Great grandma’s birthday. We watched an old slide show of pictures from when my great grandma was younger all the way til when Mama Lanette was younger. (Nice perm Mom!) We also got to eat some very delicious mini four leaf clover cakes made by my cousin Claire Bare. These things were AMAZING! We had a cupcake that was very similar to what she made from a local cupcake shop which couldn’t even compare to these things.


Sunday we didn’t go out or anything, but instead BBB (Big Burley Bruce) and I stayed in and I made a traditional Irish meal out of a cook book that I got handed down to my by my Great Grandma. I have no idea how old this book is, but I had to do some Google research to covert the measurements and also to get a clearer look at how exactly to make it. Now I did make some small changes, which I will mention in the recipe. I don’t feel like I did anything that would change this from being a good ol’ traditional recipe, and let me tell you, this recipe doesn’t need much changing. It was DELICIOUS! Good enough where BBB went up for a big bowl of seconds. And if you really want to call out the Irish in you I suggest you sop up what’s left in your bowl with a nice piece of soda bread.


Ingredients:
8 pork sausages (We used hot Italian sausages for some heat)
1 pound of bacon (We used double smoked bacon that Mama Lanette brought us)
2-4 pounds of potatoes
2 large onions
2 cups of beef broth or water
¼ cup of parsley
Salt and pepper to taste


 First what we are going to do is cup up the bacon and sausage into bite size pieces. I did 1 inch by one inch for the bacon and did the sausage in a little larger of chunks. You’re going to want to make sure that these are easy to eat – this meal shouldn’t need a knife!


 Now take the onions and cut them into chunky pieces. We aren’t going to finely dice these like we would in most recipes. What I did was I quartered the onions and then just cut some half inch wide strips.


 If you look up the old recipe online you’ll see that they will have you boil your meats as a start, but I went a different rout. In a pot I fried up the onions, bacon, and sausage together dry. Now your bacon will look different during this process with the way this recipe goes. Normally we get some what crispy bacon that becomes a brown/red. Don’t be worried if your bacon holds its pink color through out this process.


As your meat is cooking peel your potatoes and chop them into bigger chunks. Something bite sized. I did them a little bigger than what I cut the meat. Put the potatoes off to the side, we won’t be cooking these ahead of time. Make sure to check your meat often during this process. We don’t want anything to burn.


Take your parsley and finely chop it. I normally use my kitchen scissors when doing this because I find it to be easier and cleaner than using a knife.  Again, keep checking your meal and stirring it around.


Once the meat is cooked to your liking add in potatoes, parsley, two cups of beef broth, and salt and pepper to your tasting. You’re then going to cover the pot on the stove and let it simmer for about an hour. Make sure to check it through out the meal. We want to make sure that while the potatoes become soft you don’t want them to become mushy. To test see if you can easily push a fork through the potatoes with out breaking the potato apart.


 Now just put in a bowl and enjoy! Seriously, this meal is fantastic! So tasty. You might end up going for seconds… or even thirds.


Tuesday, March 12, 2013

It Ain't Easy Being Green Soup!

So this week's theme is asparagus. It's delicious and nutritious!!! Yeah that's right, I said that. Honestly, I love this little stalk of a vegetable. I love it steamed, roasted, grilled, and any other way you can think of eating it. I really played around this week with my recipe and I hope you all enjoy it as much as I did!


2 bunches of asparagus
2 15 ounce cans of white navy beans
3 medium russet potatoes, peeled and diced
2 cups of chopped broccoli
2 leeks, white and pale part only, diced
1 yellow onion, diced
5 cloves of garlic, minced
2 14.5 cans of veggie stock
2 cups of milk
1 cup of water
2 bay leafs
2 teaspoons of white or black pepper
2 teaspoons of paprika
Salt to taste
2 tablespoons of olive oil


 First we will start by cleaning up the asparagus. To break off the bottom just slightly bend the bottom of the stalk and let it snap where it wants to. It's pretty easy to clean up asparagus and the more you do it you'll find that you know pretty much where it's going to break. Now cut the asparagus into about one inch pieces. 


Take both tablespoons of olive oil and heat up in a decent sized pot. Once warm add in minced garlic and diced onion. We're going to satuee them for about five minutes. You don't have to worry too much about them being a certain texture since we will be cooking them longer. While the garlic and onion is sauteing boil the small amount of potatoes. You will boil these just like you would when making mashed potatoes. You want to make sure that you can get a fork through them easily before taking them off the stove. 


Now take the asparagus, broccoli, and leeks and add them in the pot with the onion with one cup of water. Open both cans of navy beans and drain and rinse well. Add navy beans into pot and stir well and put lid on pot. You're going to check back once every couple of minutes to mix up and to check texture. We want all the veggies to be very soft, almost over steamed.


Once the potatoes are done, they should finish before the veggies, drain and set aside in larger bowl. Once the veggie mixture is done you will also add this to the mixture. Mine finished once all water was out of the pot. 


Now use a blender or food processor to blend together the asparagus, beans, russet potatoes, broccoli, garlic, onion, and leaks. I personally have a small, cheap, food processor. All this means is that I would have to blend the food together about 5 times total and that my soup wouldn't be extremely smooth. I was ok with this - I like chunky soup. Your texture of your soup will depend completely on what appliance you have! 


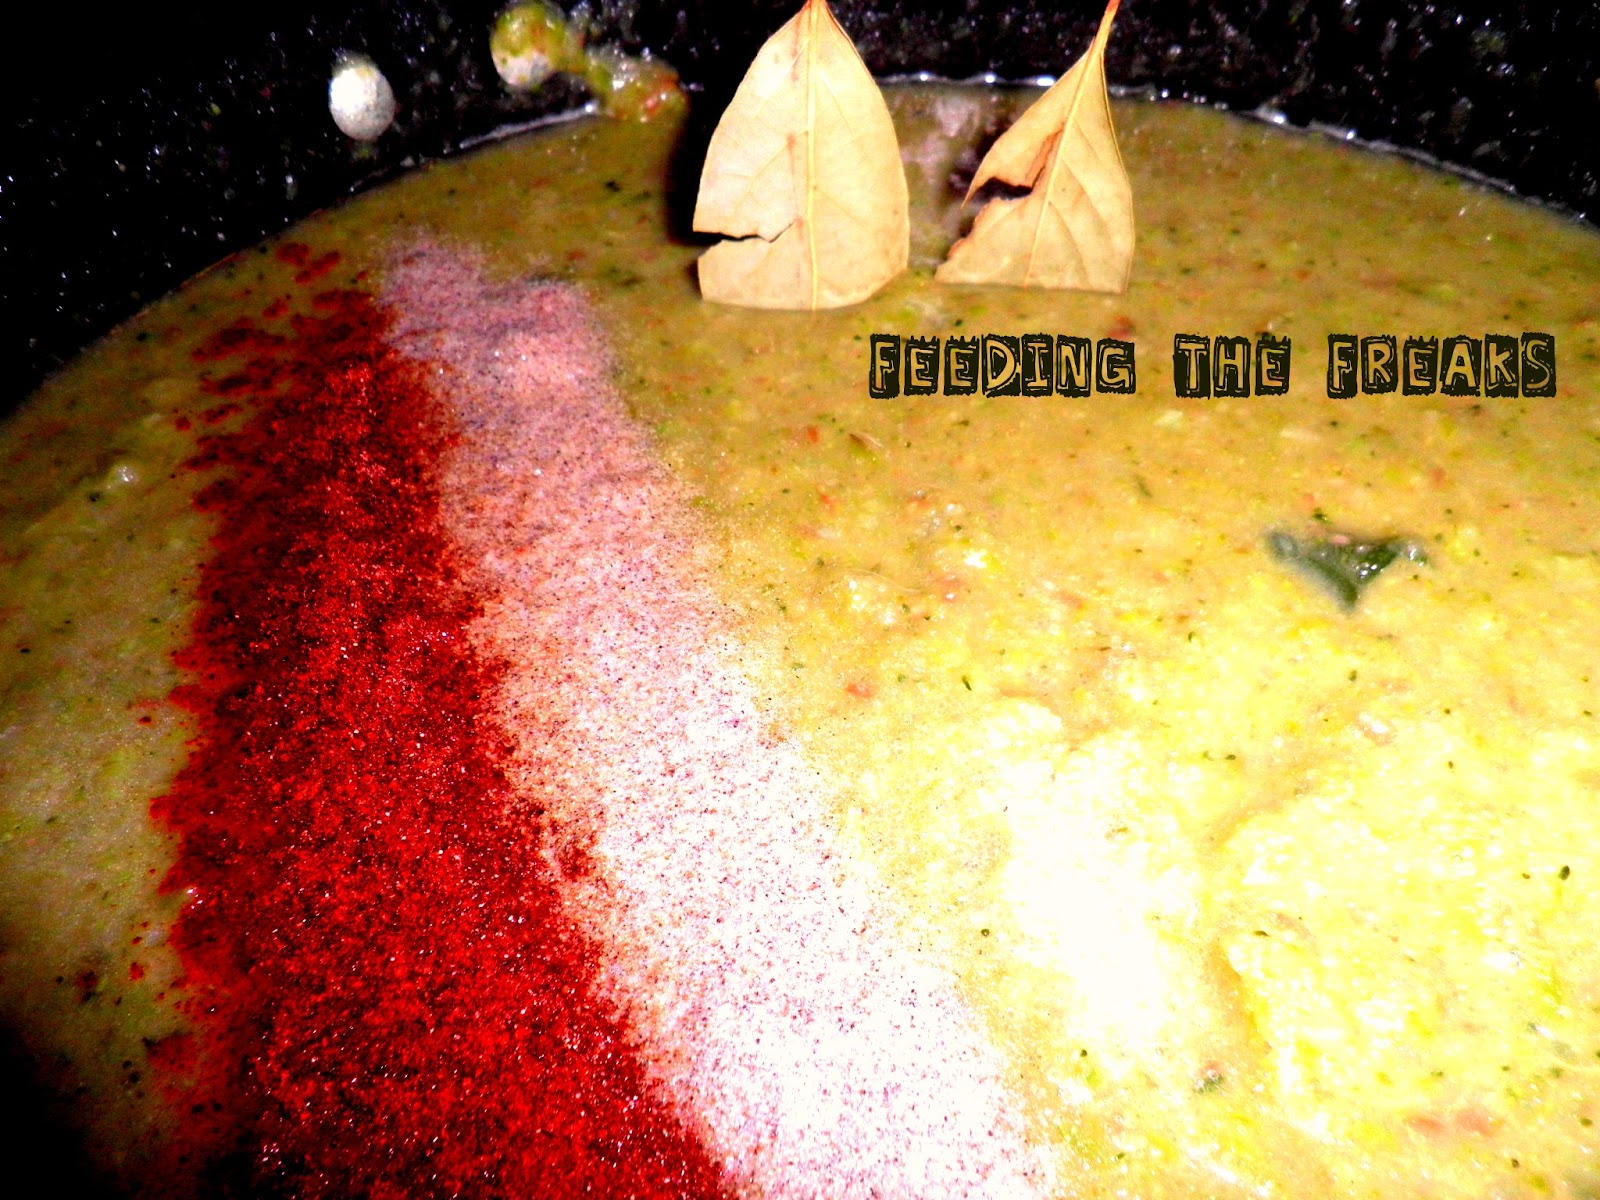
With veggies being blended add back into pot that you sauteed them in. We will then add both the cans of veggie stock, milk, pepper, salt, paprika, bay leafs, and whatever else seasoning you would want. (We added a good amount of cayenne pepper. We're both sick and the extra kick will help with out plugged noses.) 


Simmer on stove for about half a hour and then serve. Mmm. We both feel in love with this! And the best thing is the left overs will easily freeze! Which is always a bonus in my book.


Monday, March 11, 2013

Easy Pulled Pork


I love this pulled pork recipe.  It is very easy to make and takes very little time.  ANY FREAK CAN MAKE THIS, regardless of kitchen skills! If you can’t make this, then you must not have arms or something. At the very most, 15 minutes is required in the kitchen, as the rest of the work is all done by crockpot mojo.   Alyssa JoJo and I have a very fond affinity for our crockpots and probably own more than ten between the two of us…just sayin…we are compulsive crock pot purchasers, and we use every single one of them.

The SOB is very fond of pulled pork on sandwiches and quesadillas.  He especially loves it piled high into a gigantic pork volcano in the midst of a BBQ sauce eruption, no other accouterments other than a thick slice of toasted bread needed.  My personal favorite dish is pork tacos topped with a pineapple, onion and cilantro salsa and topped with some cotija cheese (consider it a Mexican parmesan).  No, you do not need to buy the pineapple salsa.  All it takes is chopping some fresh or canned pineapple and onions and mixing it together with some chopped cilantro.  Add some jalapenos for extra heat. 

This pulled pork also makes an excellent nachos topping. There is a certain “kitchen from Hell” here in the Twin Cities that prepares a pork nacho plate that is covered with BBQ sauce and diced pickles.  Sounds a little odd until you try it and your taste buds explode with happiness, and it is very easy to replicate at home.   Pulled pork is also tasty served over rice.   I used the very last of this pulled pork to make a enchilada pie sort of hot dish (which also freezes extremely well)  I do not add the BBQ sauce to the crock anymore, as it doesn’t seem to be as versatile afterwards.  The BBQ sauce is easy enough to add in when you want it, and it already has plenty of flavor with the salsa mixed in, so try it and see how many dishes you can make out of this.  I mean, c’mon freaks!  Look at how many ideas I already supplied you with!  Last, but not least, as always in Mama Lanette World, it freezes beautifully. 

Ingredients

 3 pound (approximately) pork loin roast
16 ounce jar of salsa
Salt and pepper
Oil for browning

On a clean plate, pat pork roast dry with some paper towels.  Liberally salt and pepper all sides of the roast.  Heat oil in pan on medium high heat.  Add roast and brown on all sides.  Make sure to get a nicely browned crust, as it will improve the flavor of the final dish.   Even if you burn it a little bit, it is okay.  It will just make it taste like it was grilled.

Next, place the roast into a preheated crockpot.  Pour the entire jar of salsa over the meat, cover, and cook 4 hours on high or 8 hours on medium.  That’s it.  Really…that…is…it!  If you want to make it even easier, skip the browning step.  It will still taste delicious, but browning it first really does add a lot of extra flavor, and I highly recommend it. 

This is a perfect meal to make on a work day.  You can brown the roast the night before, and in the morning place the meat and salsa into the crock pot, turn it on low setting, take off for the day, and let the crock work its magic.  I finally invested in a crock with a timer on it, and it is one of the best purchases I’ve ever made for my kitchen. I can turn it on in the morning, and it automatically switches to the “keep warm” feature as soon as it is done cooking.  It is so nice to come home after a long, cold, winter day and smell cooking food in the air as soon as you walk in the door.  When the roast is done cooking, remove from crock and, using two forks, pull apart into pieces.  Add back to crock and stir together.  Let sit for all the flavors to meld.

The two pictures of finished dishes are a grilled pork and cheese sandwich dipped in BBQ sauce (SOB style), and pork tacos (Mama Lanette style).  If you would like to play around with any of the ideas supplied above, send me a note, and I will gladly supply you with a recipe.  

Next week, Freaks!  <3 Mama Lanette


Sunday, February 24, 2013

Tortilla-Topped Tilapia for Two (or more)


Tortilla Tilapia for Two

Let me start off by saying, I do NOT like touching, cooking, or eating raw fish!  (See how I capitalized, bolded, and italicized that font?  I don’t just throw that “I don’t like that” sh#@ around, freaks!)  Take this blog post as a lesson that anybody can grow to love (or at least tolerate) a fish dish. 

Growing up in a rural, lake-filled, Midwestern household, we ate fresh-caught bluegill or walleye that was oh-so-carefully pan fried, or battered and deep fried, at a minimum of once a week.  It was freshly caught, and yet for my Barbie-doll-loving, encompassing-all-that-is-pink, girly-girl self, participation in anything past catching and reeling it in came to a screaming halt.  No brutally ripping the day’s catch off the hook, gutting, or filleting for this gal, oh no oh no oh no…*Sorry, I just threw up in my mouth a little bit.*  As an adult, I have come to the eventual realization that my “fishing with daddy” excursions were not so much to enrich my life experiences, but more to increase his daily catch limit. He will neither deny, nor confirm this theory of mine, but I know it’s true… To this day, my perfect fillet o’fish consists of a heavily beer-battered fillet, doused in malt vinegar, and covered with a thick blanket of tartar sauce; and served with a loaded baked potato on the side…not a very healthy adaptation of the food, but one I love nonetheless.  If I have the opportunity taste a fillet that has been freshly dusted in cornmeal and flour, then pan fried to crispy perfection by my Daddy-O, I am all over it.  That man can prepare a venison tenderloin or a fish fillet for me that defies all taste odds…I just cannot do it.  I have tried, and have come to the conclusion that there are some things better left to the elders for posterity’s sake.  

In what seems like a never-ending quest to find a somewhat healthy, non-fried, non-battered, but still tasty, fish dish for me and the SOB, I created this Tortilla Tilapia for Two recipe.  I was given the challenge by Alyssa JoJo, so what could I do?!?!?  I will say, though, I quite liked this recipe, and with an extra squeeze of lime or lemon on top (or the below-mentioned lemon-lime beer salt), I did not need to douse it in tartar sauce, and that is saying something from my perspective.  Please try, enjoy (or not), and send us some feedback.  We love our freaks and aim to please <3

Ingredients for Two
Double or triple recipe accordingly for number of servings made

2 tilapia fillets
1 cup crushed corn tortilla chips (for an extra splash of white trash, use Nacho Cheese or Cool Ranch Doritos and omit other spices)
2 fresh limes, juiced
1 tablespoon dried cilantro, or ¼ cup fresh cilantro
½ teaspoon chili powder
¼ teaspoon cumin
1 teaspoon salt; lemon or lime flavored if you can find it (which I HAVE, but found somewhere in Texas in a gas station between San Antonio and Corpus Christi next to a cooler full of beer—they dress their beer bottles, similar to salting the rim of a margarita glass)
1 egg

Instructions
Preheat oven to 375 degrees. 

In a shallow bowl, mix together tortilla crumbs, lime juice from 1 lime, cilantro, and spices.  For maximum mixture, place ingredients into a food processer and pulse until combined.  If anybody who is going to eat this does not like cilantro, use parsley instead.  (Trust me, cilantro haters can detect one single leaf of cilantro in an entire dish, so don’t waste your time thinking, “oh, they won’t notice that if I don’t tell them it’s in it”.  It doesn’t work, and it’s just not worth it.)

In a separate bowl, beat egg.  BAM!  That’s it…easy enough, right?!?!?

Dip tilapia fillet in egg, then in tortilla crumb mixture, pressing crumbs to adhere.  Repeat with remaining fillet(s).  Yes, it is icky, but if you use tongs, it ain’t so bad.

Carefully place tilapia fillets onto a baking sheet.  Press more tortilla crumb mixture on top if needed (not too much or it won’t get crispy, but you want a nice even layer and not be able to see the fish through the breading).  Place in oven and bake for 15 minutes.  If fillets are thick (more than ½ inch) check after 15 minutes.  If fillets easily flake with a fork, they are done.  If not, bake another couple minutes or so.

After removing from oven, and immediately before serving, squeeze juice from one lime over fish fillets.  I served this with a salad of arugula and segmented grapefruit, but oranges would work just as well and probably be a little sweeter.  I then drizzled olive oil and orange champagne vinegar (from TJ’s, yo) over the salad, and sprinkled with a liberal dose of salt and pepper.  That is all it takes to make a salad, freaks!  Stop whining that you can’t get your veggies in.  I know you’re just not trying…  It was a nice, refreshing combination during the SAD season that has so cruelly and predominately raised its evil head and invaded this late winter in the Midwest, as it always does…

Truly, though…this was an incredibly easy recipe to prepare, and I highly suggest making it if you find yourself in a fish rut and would like to try something different.

Next week, Freaks!
 <3 Mama Lanette

Wednesday, February 20, 2013

Lime Tilapia!

Hey everyone! Sorry that this late but we've been busy busy in JoJo land. It was tax return time so we bought a lot of stuff that was needed for the house, and a lot of stuff that was not so needed. Now this recipe doesn't have pictures, but that doesn't mean it's not good.

Ingredients:
4 tilapia fillets
Juice and Zest of 1 lime
1 tablespoon of olive oil
1 1/2 tablespoons of honey
1/2 teaspoon pepper
1/2 teaspoon of garlic powder
1/4 teaspoon of chili powder
1/2 cup of flour
Olive oil for frying

Combine lime juice and zest, olive oil, honey, pepper, garlic, and chili powder in a larger zip-lock bag. Add tilapia fillets and let marinate for at least 1 hour. You can let this sit for a day but with it being fish I would not do it any longer than that.

When fish is ready combine flour with some salt and pepper (if wanted) and lightly cover tilapia with flour on both sides. Heat about 2 tablespoons olive oil, and cook about 4 minutes on each side; until the flour becomes and nice brown. You don't want to flip or move around too much.

See?! Look at that easy recipe. And very tasty. We served with some brown rice and some asparagas on the side. Yum!!!!


xoxo
Alyssa JoJo

Monday, February 11, 2013

JoJo's Lasagna


Hello everyone! This week we are making lasagna and let me say – mine turned out to be a fail. Not taste wise, it was very tasty, but all together structure wise it didn’t turn out. I’m still posting it though, if only to show that you can always work with the food that turns out in a way that you completely didn’t want. First I’m going to start with the recipe for the lasagna alone. I tried doing something that I’ve been seeing online a lot, where you replace the noodles with zucchini. Here we go!

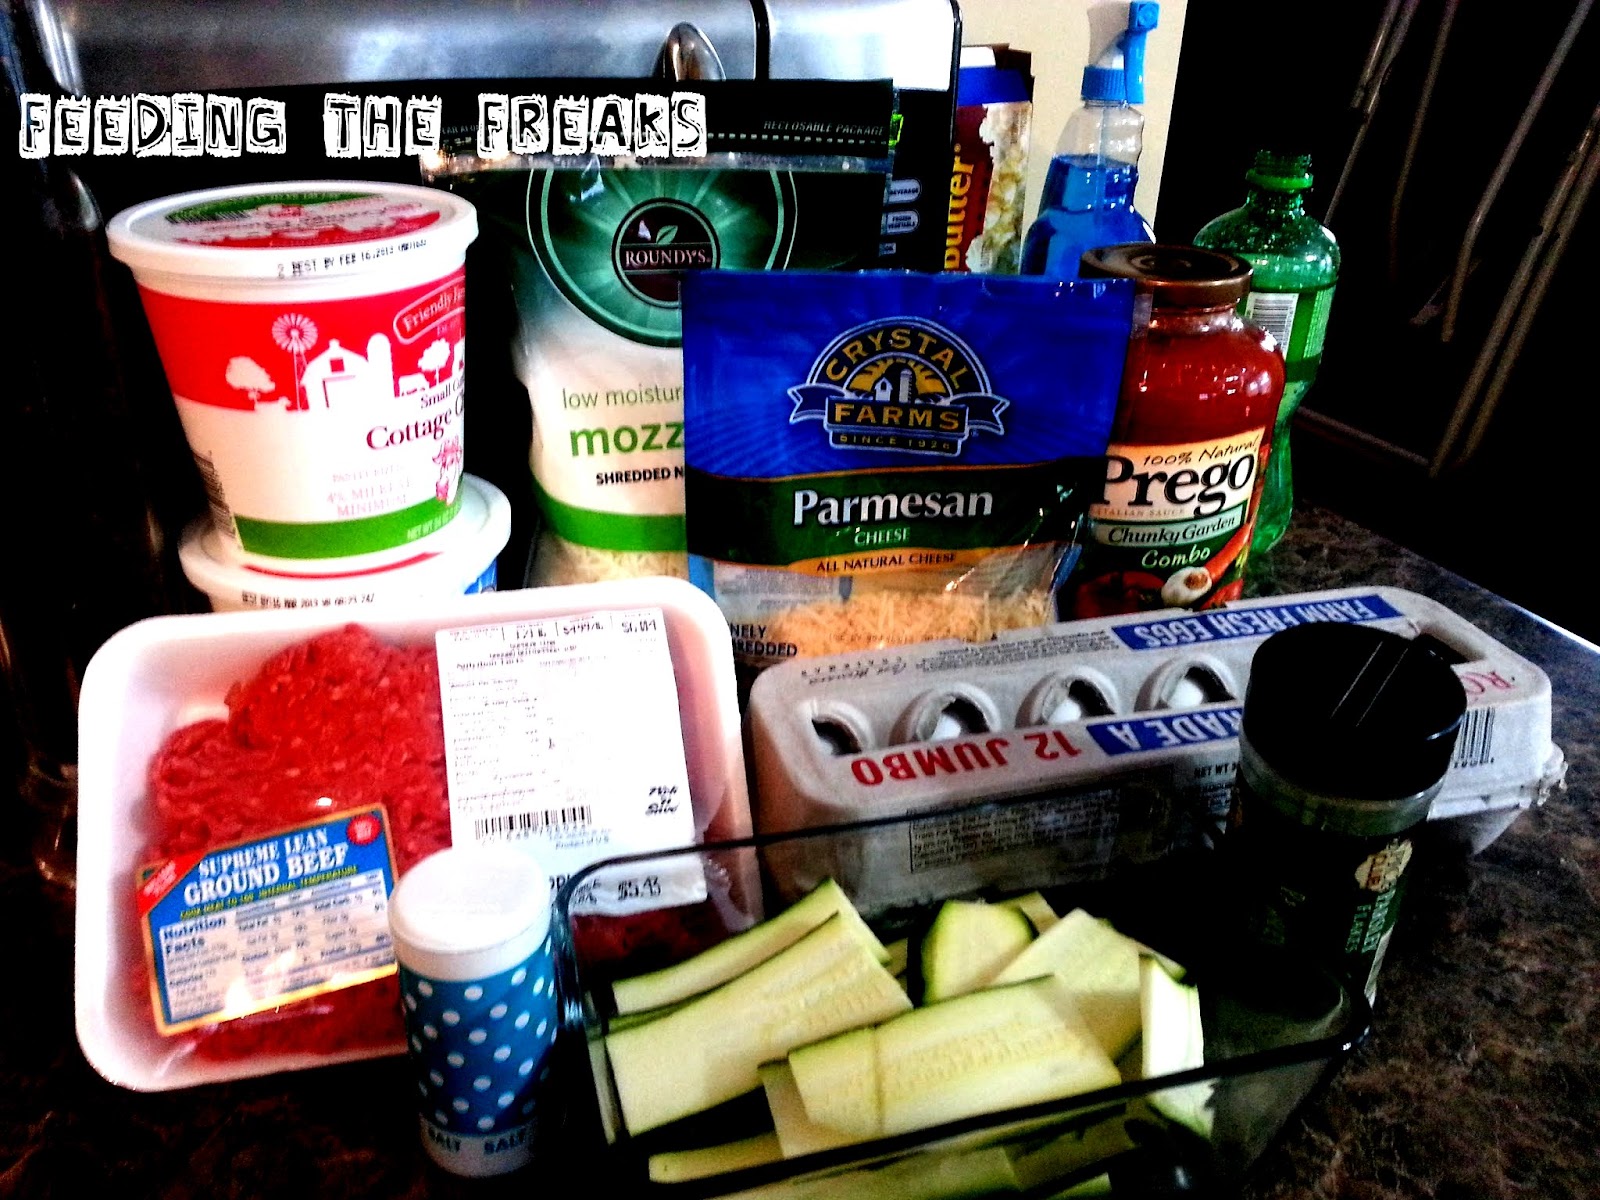
Ingredients:
1lb lean ground beef (Can use turkey if you’d like)
45 oz jar of spaghetti sauce
2 cloves of garlic, minced
32 oz of cottage cheese
4 cup mozzarella cheese, shredded
2 eggs
½ cup grated parmesan cheese
2 teaspoons dried parsley
Salt and Pepper to taste
4 medium to large zucchinis


First we will start with the zucchini! Now if you have a tool like a mandolin this is where your job gets easy. I personally don’t have one so I used a simple knife to cut it up into decent sized slices. You might have to come back and do this – I at first only cut up two and found that I needed to use four for mine.


Next we will put the ground beef into a decent sized pot and brown it. I added a little bit of salt and pepper in when I did this part. Once it’s fully cooked drain all the grease and put back into pot.


Now add the spaghetti sauce and the minced garlic in with the ground beef. Mix the ingredients well while bringing to a slight boil. Once it hits the boil bring down to a simmer and let cook for five minutes.


While the beef mixture cooks preheat your oven to 450 degrees. Grab cottage cheese, half of the mozzarella cheese, both eggs, half of the parmesan cheese, the parsley, and the salt and pepper. Mix well and set aside until the beef mixture is done.


Take enough of the beef mixture to have a thin layer covering fully a 9X13 pan. Then layer some of the sliced zucchini to cover the bottom as best as you can.


Now layer some of the cottage cheese mixture and then some of the beef mixture. To figure out how much you should use figure out how many layers you want. I did two layers so I did half and half. You will then put on another zucchini layer and continue until you run out of both mixtures. Top with remaining mozzarella and parmesan cheese.

Bake for 45 minutes.

Now look at that finished product… yup it pretty much looks like soup. The BBB (aka Big Burley Boy aka the bf) and his pop still ate it up. Seconds and all – but it just was NOT right. It bugged me so I plotted how to fix it and after much thought I figured out how to. I boiled a pot of macaroni noodles that I had left over from the mac n cheese night. As those were boiling I pulled all the zucchini slices from the lasagna and chopped them up to smaller chunks. I put them, the lasagna mixture, added about a tablespoon of chili powder, some garlic powder, salt and pepper, and heated it up. By the time the noodles were done the lasagna soup was fully heated up. Mixed it all together and voila! We ate that with a side of ghetto cheesy garlic bread and it was an amazing dinner.

So, keep in mind, Freaks....every meal is not going to be a win-win situation.  There will always be instances in which a new recipe just FAILS for some reason or another.  It is the truly adaptable cook who can take a fail and turn it into a WIN.  Sometimes the conversion becomes a new family favorite, so go for it...you never know what is awaiting you!  

Wednesday, February 6, 2013

Easy Peasy Mac-N-Cheesy


Easy Peasy Mac-N-Cheesy

Mama Lanette loves macaroni and cheese!  Alyssa JoJo loves macaroni and cheese! Being the homegrown Midwestern foodie freaks they are, the cheesier, the better.  Everybody loves a good homemade macaroni and cheese recipe, and this one is super easy!  Well, actually, Grandma JoyJoy doesn’t care for macaroni and cheese.  I guess it has something to do with growing up in the days when Catholics never ate meat on Fridays, (blah blah, Catholic guilt, blah, blah) not just during Lent as we are apt to do in modern times…if even then (sorry Baby Jesus!).  Even so, Mama Lanette and Alyssa JoJo did not let Grandma JoyJoy’s dislike deter them from an intense love of the Mac-N-Cheese.   Oh no!  We moved far beyond the blue box blues, with its artificial neon orange powder, and into a world of naturally-hued tangerine dreams. 

 Once you realize how easy homemade Mac-N-Cheese can be, you might just never look back.  Soon you will be adding green chilies and salsa, making it Mexican style, or adding tuna and some mushrooms to create the perfect cheesy tuna mac.  Adding a little ham, green peppers and onions is another blissful concoction that is a perfect use for leftover Easter or Christmas ham.   And, true to Mama Lanette style…it freezes beautifully!  You don’t think the SOB and I eat an entire pan of this, do you?  Oh no, my little freaks!  Mama Lanette cannot be trusted to let leftover Mac-N-Cheese sit in the fridge, the compulsive overeating disordered little gal she is.  As soon as that pan cools off, poof!  Off she goes, cutting it into “perfect for two” sized pieces, wrapping it in foil, labeling it with her hot pink Sharpie, and popping it into the freezer.  It is as delightful thawed and reheated in the oven as it is the first time around.   So here we go freaks!  Try them and let us know what you think!

Ingredients

1 pound box dried pasta.  Once again, Mama Lanette likes the fun shaped stuff, much like a small child.
1 can cheddar cheese soup
4 cups shredded cheddar cheese.  I prefer sharp cheddar, but use whatever you have on hand or prefer.  You can even go with something other than cheddar if you want to get crazy!
1-1/2 cups milk or half-and-half
1 cup Panko bread crumbs
Salt and pepper to taste

Preheat oven to 350 degrees

Bring a large pot of water to boil and add pasta.  Cook according to package instructions.  Drain.
 
While pasta is cooking, in a large bowl, combine milk and the can of cheddar cheese soup.  Stir to combine.  Add salt and pepper if desired.  Mix in shredded cheese. 

Add drained, cooked pasta and combine gently until all ingredients are well incorporated.  Spoon mixture into a baking dish; 4 quart or cake pan size.  Top with Panko bread crumbs.  Bake for 25 minutes.  Turn oven on broil for a couple minutes if you want a nice brown top. 

Bam!  Ain’t that a nice looking pan of mac?  And YOU made it, so you can control what goes into it, and even better, what is going into the little tots’ bellies.  Use skim milk instead of whole or half-and-half if you want to cut the calories a bit.   I’m not saying this is a healthy dish, but sometimes food just tastes and feels better when you made it yourself and can attest to the ingredients.

Next week, freaks!  <3 Mama Lanette


Thursday, September 20, 2012

Tuna Casserole

Sorry for this being a day late! I have to say that Mama Lanette gave me a nasty cold which has ended with me sleeping a good 17 hours out of the day. Some how though I managed to get in a recipe for you all. Something simple, hot, and what I consider a comfort food. Tuna Casserole. Yummmm!

Ingredients:
2 103/4 ounce cream of mushroom soup
2 cups of frozen peas
2 12 ounce cans light tuna in water
5 cups of cooked egg noodles
2 garlic cloves, minced
1 cup of milk
1/2 cup of bread crumbs
Salt and pepper to taste


Ingredient notes: Garlic is not needed for the dish - I just love garlic so much I try to add it to everything. You can also pick the 98% fat free cream of mushroom soup to try and make the dish a little healthier. And lastly you can add butter to the bread crumbs to make a tastier breaded top.


Preheat oven to 400 degrees and bring a pot of water to boil. Add egg noodles and boil til cooked. While noodles boil add cream of mushroom soup, frozen peas, tuna, garlic, milk, and salt and pepper into a 8X11 pan and mix well. Drain noodles and add noodles to mixture and mix well. Place dish in oven and bake for 20 minutes. Take out and sprinkle bread crumbs over dish and bake for another ten minutes.


Recipe Notes: My favorite thing to do with this dish is to mix some powdered Parmesan cheese in with it. It seems to just make it even more tasty!!


Hopefully by the time it comes to do next weeks recipe I'm feeling a little bit better. The last thing I want to do right now is spend any time in the kitchen. Bleh!!! If Mama Lanette was here I would be giving her dirty looks for passing on her sickness to me. Boo!!!

xoxo
AlyssaJoJo