Showing posts with label italian sausage. Show all posts

Monday, April 22, 2013

JoJo's Spaghetti Squash Boats

Hey Everyone! Sorry for the pause again! Mama Lanette and I are finding that this blog is more work than we expected! That's not a bad thing, but we need to work better at getting our two recipes a week in! But I'm happy to say that we're coming back with what I think is a really good recipe! Let's get to it!

Ingredients:
2 small spaghetti squash (Or one medium)
1 pound of meat of your choice. We picked some ground Italian pork because it was cheap. But feel free to do ground turkey or whatever you want.
1/2 cup of chopped onion
1/2 cup of chopped green pepper
1/2 cup of chopped mushrooms
3 garlic cloves, minced
1/2 teaspoon of dried basil
1/2 teaspoon of dried oregano
3 medium tomatoes, diced
1/2 cup of shredded mozzarella, or cheese of choice
Salt and Pepper to taste

First preheat your oven to 375 degrees. As your oven is preheating cut your spaghetti squash in half. Now if you have a medium one this can be a struggle. There's been a few times where I could be found sitting on the kitchen floor with my knife fully stuck in a spaghetti squash trying to bang it on the floor to get it all the way through. It gets easier though! But as I was saying, you're going to want to cut the squashes in half and then gut the seeds out of it. Like a cantaloupe! Once that is done you will place them gut side down on a cookie sheet and put them in the oven for 40-45 minutes.


While those are cooking, start browning your meat of choice. Don't worry about seasoning it this point, just brown it and drain it. As you're cooking that, take the time to dice up your onions, tomatoes, peppers, and mushrooms. Make sure to dice them small, but not small enough to be considered minced.


Once the ground meat is done, remove from the stove and drain all grease. We will then add all of the chopped veggies and seasonings. We will cook these on low until the onion is cooked fully and the flavors get a good mixture.


Depending on how long this takes, your squash should be done or close to done. Remove the squash from the oven and give it 5-10 minutes to cool. It will still be hot to the touch after this but not so much where you can't touch it when needed. Flip the squash over and, using a fork, scrape out the insides. Now make sure you leave some inside because we will be using the "shell" later on. Take about a cup out of each half if using two small ones, or two cups of each if using a big one.


Add the squash into the skillet with the meat mixture and mix well. Cook on a low heat for about 10 minutes, until all liquid has evaporated. Make sure to mix once about every two minutes.


As you are cooking the mixture, take time to shred the cheese. You might have bought preshredded too, but just so you do know, the way that they keep that cheese from clumping in that bag is they add wood pulp. Cleaner foods equals a better you!
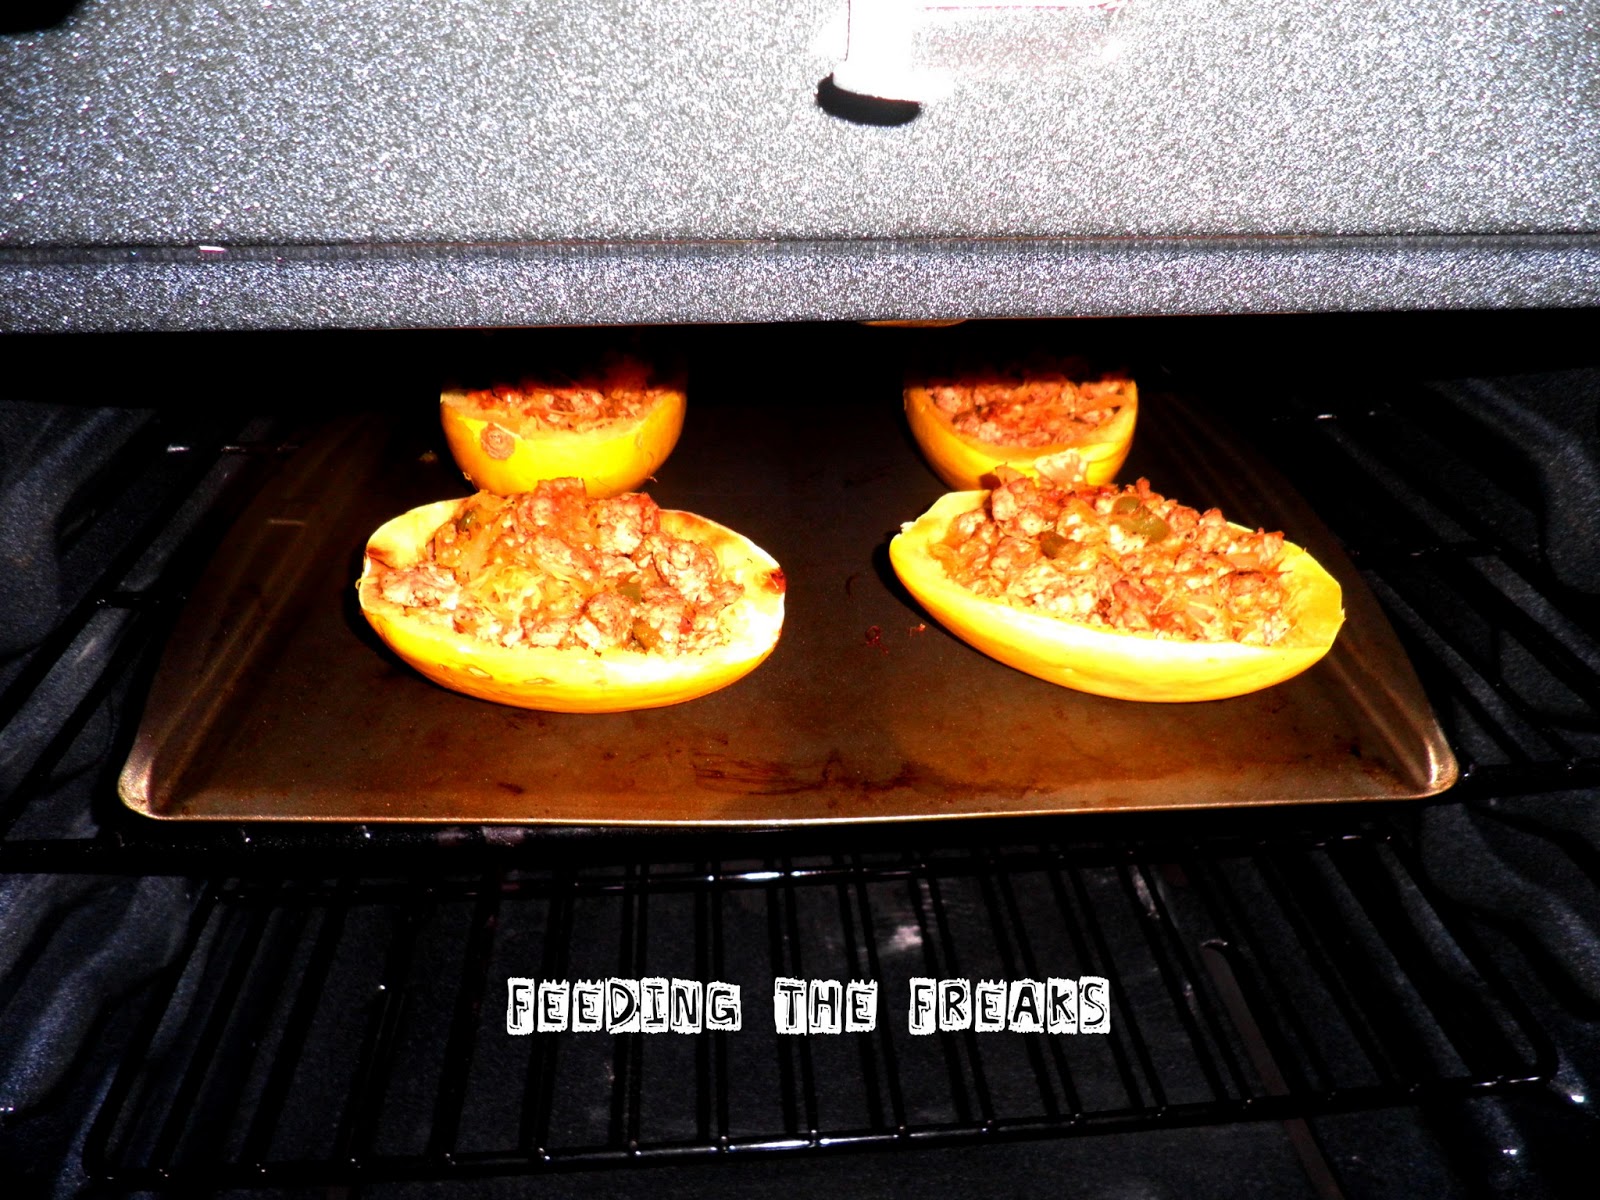


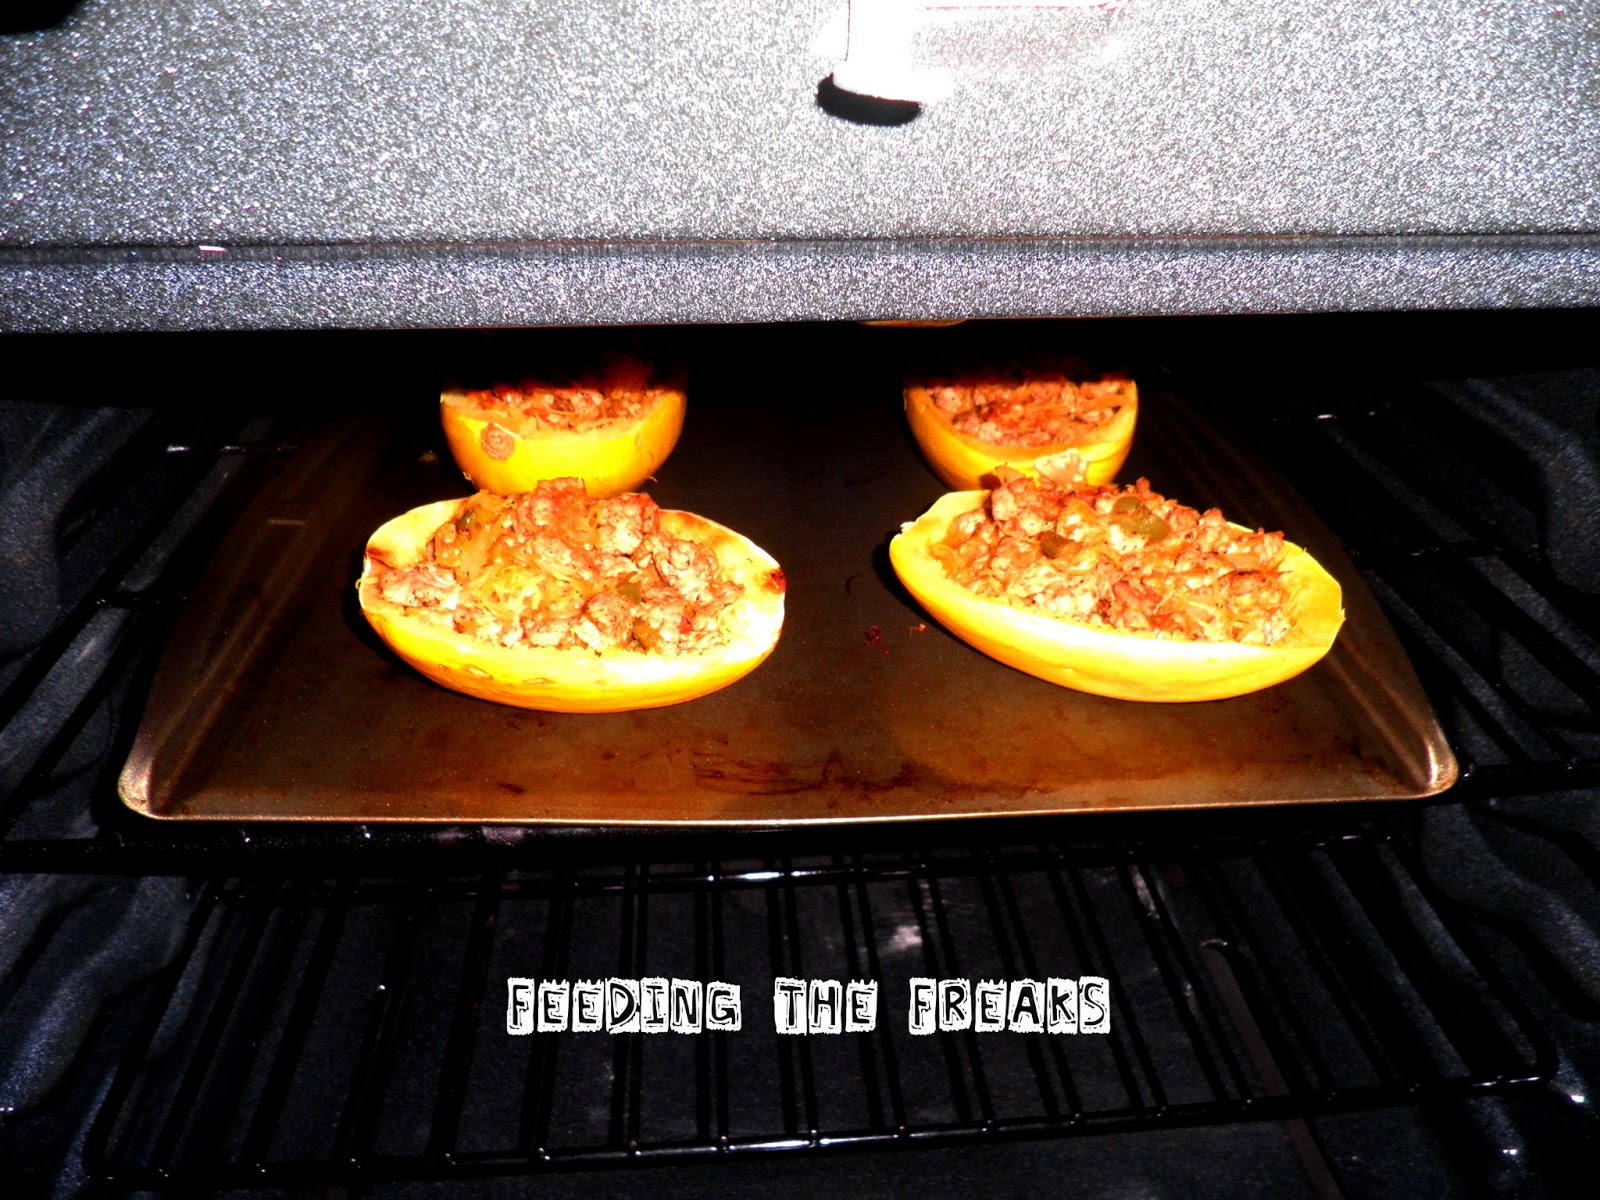
Once you are done with the cheese and your meat mixture, take the four, or two, shells that you have and equally put the meat mixture in the squash shells. Bake these at 350 degrees for about 15 minutes. Once those are done add your cheese and bake for about another 5 minutes.


And there you go! Not only do you have an amazing dinner that tastes oh so good, but you are also eating something healthy! And this is something that you can play with and make healthier if you wanted.


And as an extra treat I have a second recipe for you. Now this is something that I literally dreamed up. I've really been thinking about rice bowls lately. Trying to figure out a way to make them with spaghetti squash. I don't really have pictures for step by step since I wasn't even making this for the blog, but after eating it and seeing how good it was I wanted to share. Not only did this get the thumbs up by BBB, but my picky eater friend Stephy Bee also nommed this down!

Ingredients:
Four cups of spaghetti squash
One cup of frozen peas
One cup of carrots chopped up
One cup of cabbage shredded
4 eggs
2 tablespoons of soy sauce
1 tablespoon of brown sugar
2 tablespoons of sesame oil
3 tablespoons of water

Bake spaghetti squash with the same instructions of above recipe. As squash is baking, heat up sesame oil and saute the veggies. Once squash is done, take a fork to it and get about four cups of "noodles" out. Mix veggies and squash into a decent size bowl. Take soy sauce, brown sugar, and water and mix together, and then pour into the squash and veggies and mix well. Set aside and fry up your four eggs. Split the squash mixture into four different bowls and lay one fried egg onto each bowl. EAT AWAY!!!



Thursday, November 1, 2012

Yummy Mummies


So, Mama Lanette had a Halloween Potluck at her day job today, which required a lot of extra thinking and creativity.  After all, the Feeder of the Freaks cannot show up at her Halloween Potluck with just any old thing!  I have a reputation now, and I must live up to it…(tapping pencil) what to do…what to do???

Being the Midwestern, raised-on-beer-with-a-frighteningly-high-alcohol-tolerance, good-time gal that I am, the first thought that came to mind was Caramel Apple Jello Shots.  Sounds delish, but alcohol at the work place is somewhat discouraged (watch for this recipe in the very near future, though).  Peanut butter eyeballs?  Eh, been there, done that.  After days and days of ruminating and pondering, a black light bulb suddenly popped on over my head!  Mummy bread!  If people can turn bread dough and fillings into stuffed braids, why can’t the braid also be altered to look like a bandaged up mummy?  Oh, the possibilities!!!  What to stuff them with?  Savory or sweet?  Fruity or chocolate?  Meat filled or (oh, the horror!) vegetable filled?

Well, as Mama Lanette does when faced with indecision, she sighs, takes a very deep breath, blindly dives in, makes many of each, and hopes for the best. The end result?  A delicious Apple Yummy Mummy and a Pizza Yummy Mummy; both of which were well received at the potluck, and formally named Yummy Mummies.  The Pizza Yummy Mummy won favor hands down, though.  (The SOB ate an entire Pizza Yummy Mummy the evening before while Mama Lanette was experimenting.)  The Pizza Yummy Mummy disappeared from the potluck table in 10 minutes flat, which is something spectacular because the people I work with can make some REALLY TASTY FOOD.  The Apple Yummy Mummy, while delicious, was surrounded by several competing delectable desserts, so there was a bit of that one left.  Finding the lucky recipient to take the remainder home was a fairly simple task, however.  I really didn’t want to bring it home, as I’m still recovering from the Minnesota State Fair Feeding Frenzy of 2012.

Once the technique of the dough is grasped, the number of Yummy Mummies flavor possiblities is endless.  They can virtually be stuffed with anything you would want on a pastry, pizza, taco, etc.  Anything that tastes yummo on top of bread is just as delish inside of bread.  It can be as simple or as complicated as you choose to make it.  Make your own dough, buy frozen bread dough, or use cans of poppin’ fresh refrigerated dough.  Whatever kind of dough you use, the end result is going to be one heck of a yummy mummy!  Below are the recipes for the two I made and brought to work; however, BE CREATIVE, fellow freaks!  If you keep listening to what I tell you to do and follow my advice blindly, I may just develop a superiority complex, and trust you me…nobody who knows me wants that to happen…ever.

Apple Pie Yummy Mummy Ingredients (makes 1)
1 pound frozen bread dough, thawed (I used Rhodes brand sweet bread dough)
1 can apple pie filling
Powdered sugar for dusting
Two eye shaped things, like chocolate chips, toasted almonds, maraschino cherries, etc.
Egg white


Pizza Yummy Mummy Ingredients (makes 1)
1 pound frozen bread or pizza dough, thawed (I used Rhodes brand pizza dough)
½ to 1 cup pizza sauce, depending on how well you like pizza sauce (I’m a saucy kinda gal)
½ pound hot Italian Sausage, browned and crumbled
½ package sliced pepperoni, or 1 diced pepperoni link (comes in a package of 2 links, but they last a long time, so don’t worry about the extra going bad…or just make two of the damn things, for crying out loud.
½ pound mozzarella cheese, shredded or very thinly sliced.  To make things even easier, go yet yourself a package of preshredded mozzarella.  They come in conveniently premeasured 8 ounce bags, which coincidently equals ½ pound.
1 black or Kalamata olive, sliced lengthwise
Egg white

For any mummy you choose to make, the assembly and baking steps are the same.  First of all, if using frozen, thaw your bread dough and let rise until doubled.  Punch that bitch down and roll it out into a rectangular shape, about the size of a cookie sheet.  If using the canned refrigerated dough, simply pop the can open and roll or use hands to shape to size.  Preheat your oven to 350 degrees.


Once dough is rolled out into its rectangular shape, spread filling(s) down the center lengthwise, about 1/3 the width of the dough itself (take a deep breath, I have photos, okay?)

Decide which end is going to be the mummy head, and about 3 inches down the side from that, use a paring knife and cut 6 diagonal slits (about 1 inch wide each) down each side of the mummy dough.  Leave about 2-3 inches at the “feet” end if possible.

Wrap the sides of the head end in first, then fold over the top flap.  After that, carefully criss-cross the slits across the top of the mummy, pinching seams as you go.  When you get to the foot end, fold ends the same as with the head end.  Using your hands, carefully mold into a more mummy like shape, indenting at the head and feet ends. 

Once you are done shaping and pinching seams in the dough, brush with egg white.  Yes, I realize many of you freaks have no idea how to separate an egg, much less own a basting brush for anything other than BBQ’ing, so you can skip this step if you must,  but try to at least brush the Yummy Mummy with some melted butter or give it a shot with some nonstick cooking spray.  It gives a nice color to the finished product and promotes browning, okay?  After brushing or spraying, place two chosen objects (olives, cherries, almonds, etc.) on the head area for eyes.  

Place into the preheated oven and bake for approximately 30 minutes, less or more depending on how browned you like your bread.

After removing from oven, dust with powdered sugar, sprinkle with parmesan cheese, or whatever you feel like doing to make it more decorative and mummy looking.

Lessons learned/tips/tricks/ideas:
Make sure your dough is pinched tight before brushing with the egg white or basting with butter/oil.  I made a Yummy Mummy that had cream cheese and raspberry filling, brushed it with the egg while there were still gaps, and the thing came out of the oven looking like a Frankenstein’s zombie monster/weird alien worm thing.  Seriously…it was embarrassing.

I think Mexican flavors would really do this justice.  I envision Yummy Mummies filled with salsa, cheese, beans/chicken/taco beef, olives, etc.  Take that Taco Bell and your sadistic, yet delicious, Doritos Locos Taco!

How cool would this look as a Christmas tree?  Yep, already making plans….

An End to End a Season:
So, sadly, another Halloween season has come to an end.  I know you are all very concerned and wondering, what does that mean?  How will that affect Feeding the Freaks? Should I be worried?  Well, fellow freaks, Mama Lanette and Alyssa JoJo have only three words…Thanksgiving and Christmas!  Woot woot!  Join us in November for TG delights galore, and in December for all sort of ideas for parties and family gatherings.  We have stacks and stacks of food magazines, along with the world wide web to surf, and we will do our best to find/create the finest and freakiest holiday creations for you to share with your loved ones.

Next week, fellow freaks!  <3  Mama Lanette