Showing posts with label eggs. Show all posts

Monday, April 22, 2013

JoJo's Spaghetti Squash Boats

Hey Everyone! Sorry for the pause again! Mama Lanette and I are finding that this blog is more work than we expected! That's not a bad thing, but we need to work better at getting our two recipes a week in! But I'm happy to say that we're coming back with what I think is a really good recipe! Let's get to it!

Ingredients:
2 small spaghetti squash (Or one medium)
1 pound of meat of your choice. We picked some ground Italian pork because it was cheap. But feel free to do ground turkey or whatever you want.
1/2 cup of chopped onion
1/2 cup of chopped green pepper
1/2 cup of chopped mushrooms
3 garlic cloves, minced
1/2 teaspoon of dried basil
1/2 teaspoon of dried oregano
3 medium tomatoes, diced
1/2 cup of shredded mozzarella, or cheese of choice
Salt and Pepper to taste

First preheat your oven to 375 degrees. As your oven is preheating cut your spaghetti squash in half. Now if you have a medium one this can be a struggle. There's been a few times where I could be found sitting on the kitchen floor with my knife fully stuck in a spaghetti squash trying to bang it on the floor to get it all the way through. It gets easier though! But as I was saying, you're going to want to cut the squashes in half and then gut the seeds out of it. Like a cantaloupe! Once that is done you will place them gut side down on a cookie sheet and put them in the oven for 40-45 minutes.


While those are cooking, start browning your meat of choice. Don't worry about seasoning it this point, just brown it and drain it. As you're cooking that, take the time to dice up your onions, tomatoes, peppers, and mushrooms. Make sure to dice them small, but not small enough to be considered minced.


Once the ground meat is done, remove from the stove and drain all grease. We will then add all of the chopped veggies and seasonings. We will cook these on low until the onion is cooked fully and the flavors get a good mixture.


Depending on how long this takes, your squash should be done or close to done. Remove the squash from the oven and give it 5-10 minutes to cool. It will still be hot to the touch after this but not so much where you can't touch it when needed. Flip the squash over and, using a fork, scrape out the insides. Now make sure you leave some inside because we will be using the "shell" later on. Take about a cup out of each half if using two small ones, or two cups of each if using a big one.


Add the squash into the skillet with the meat mixture and mix well. Cook on a low heat for about 10 minutes, until all liquid has evaporated. Make sure to mix once about every two minutes.


As you are cooking the mixture, take time to shred the cheese. You might have bought preshredded too, but just so you do know, the way that they keep that cheese from clumping in that bag is they add wood pulp. Cleaner foods equals a better you!
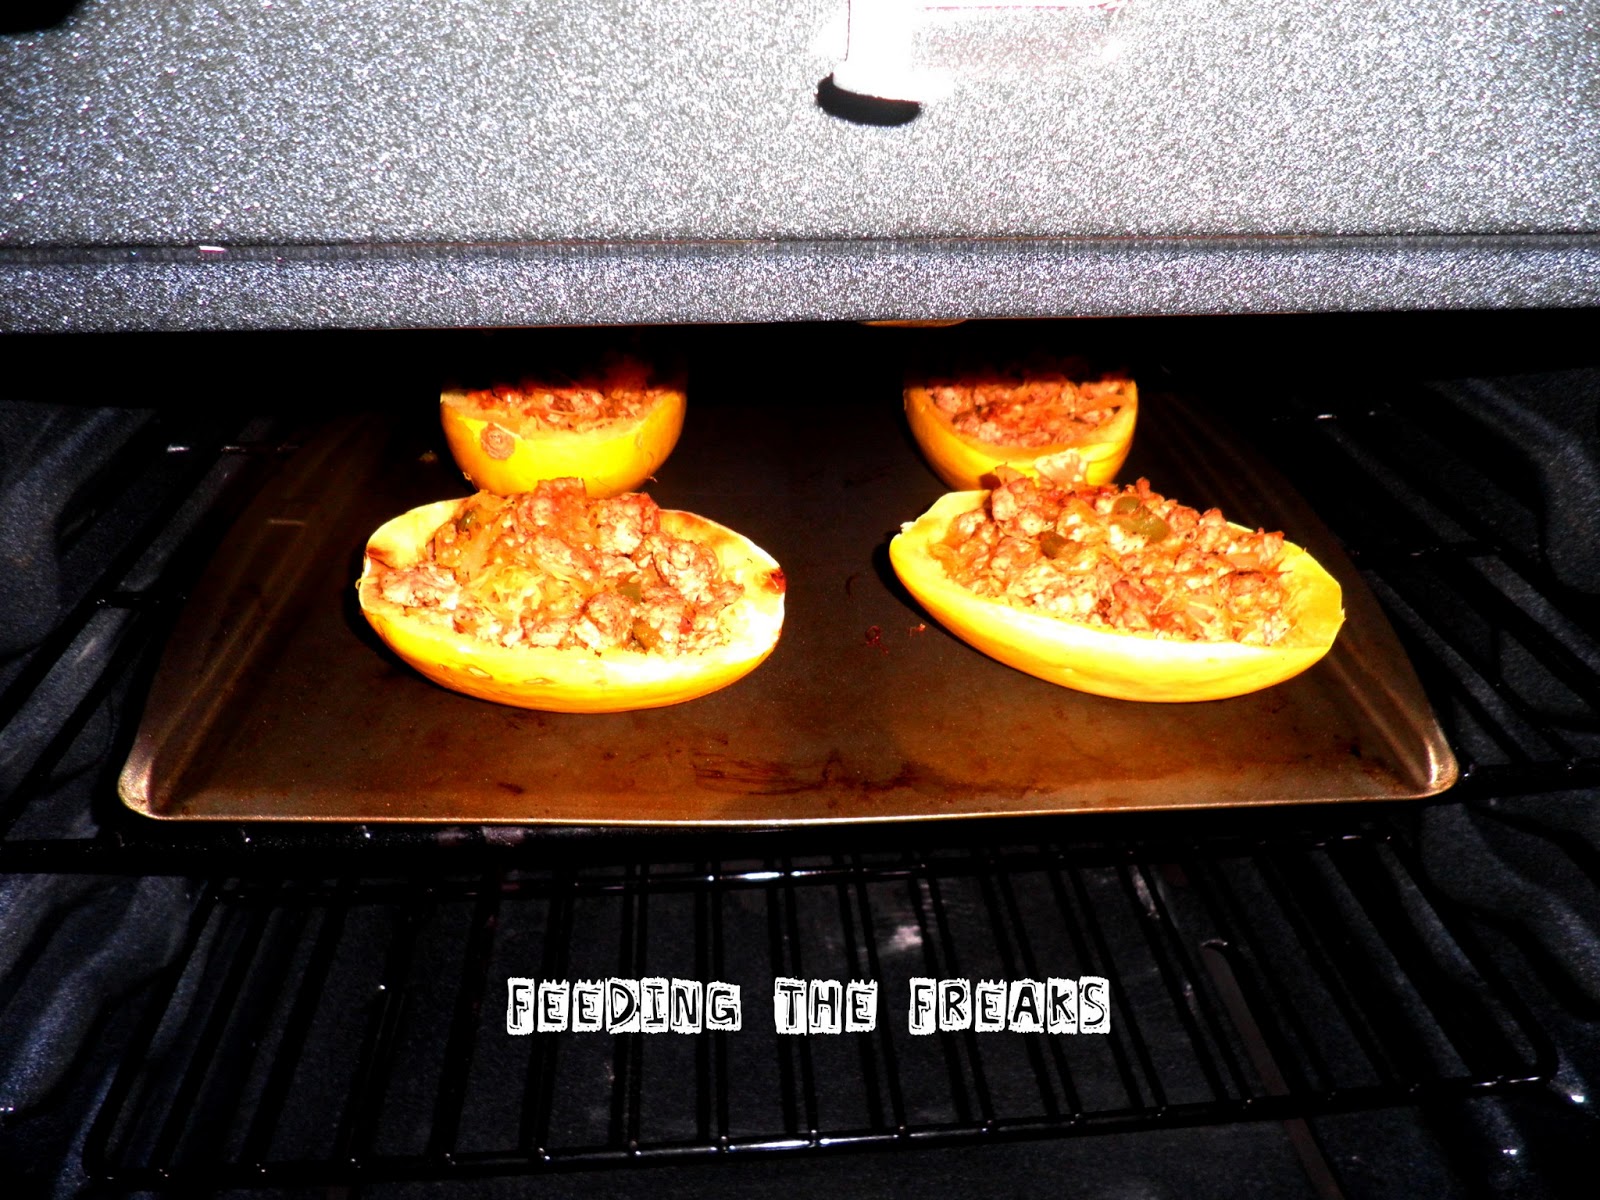


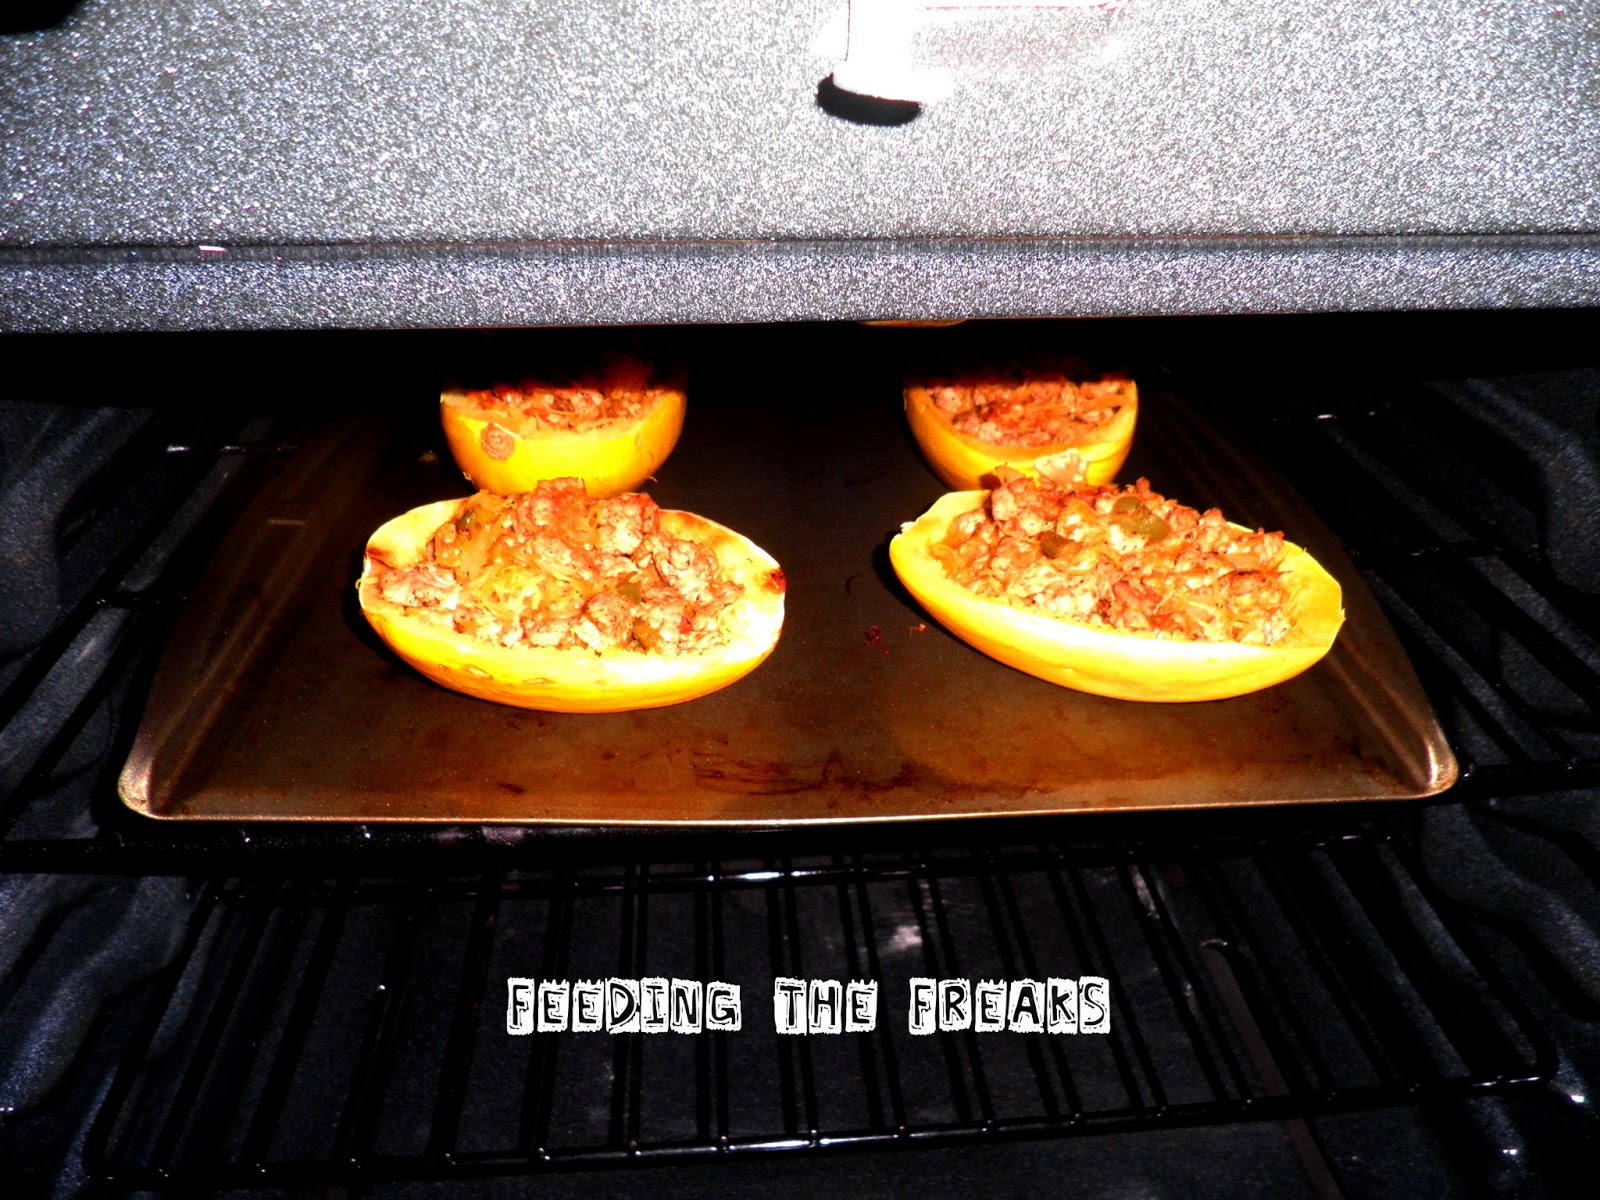
Once you are done with the cheese and your meat mixture, take the four, or two, shells that you have and equally put the meat mixture in the squash shells. Bake these at 350 degrees for about 15 minutes. Once those are done add your cheese and bake for about another 5 minutes.


And there you go! Not only do you have an amazing dinner that tastes oh so good, but you are also eating something healthy! And this is something that you can play with and make healthier if you wanted.


And as an extra treat I have a second recipe for you. Now this is something that I literally dreamed up. I've really been thinking about rice bowls lately. Trying to figure out a way to make them with spaghetti squash. I don't really have pictures for step by step since I wasn't even making this for the blog, but after eating it and seeing how good it was I wanted to share. Not only did this get the thumbs up by BBB, but my picky eater friend Stephy Bee also nommed this down!

Ingredients:
Four cups of spaghetti squash
One cup of frozen peas
One cup of carrots chopped up
One cup of cabbage shredded
4 eggs
2 tablespoons of soy sauce
1 tablespoon of brown sugar
2 tablespoons of sesame oil
3 tablespoons of water

Bake spaghetti squash with the same instructions of above recipe. As squash is baking, heat up sesame oil and saute the veggies. Once squash is done, take a fork to it and get about four cups of "noodles" out. Mix veggies and squash into a decent size bowl. Take soy sauce, brown sugar, and water and mix together, and then pour into the squash and veggies and mix well. Set aside and fry up your four eggs. Split the squash mixture into four different bowls and lay one fried egg onto each bowl. EAT AWAY!!!




Monday, February 11, 2013

JoJo's Lasagna


Hello everyone! This week we are making lasagna and let me say – mine turned out to be a fail. Not taste wise, it was very tasty, but all together structure wise it didn’t turn out. I’m still posting it though, if only to show that you can always work with the food that turns out in a way that you completely didn’t want. First I’m going to start with the recipe for the lasagna alone. I tried doing something that I’ve been seeing online a lot, where you replace the noodles with zucchini. Here we go!

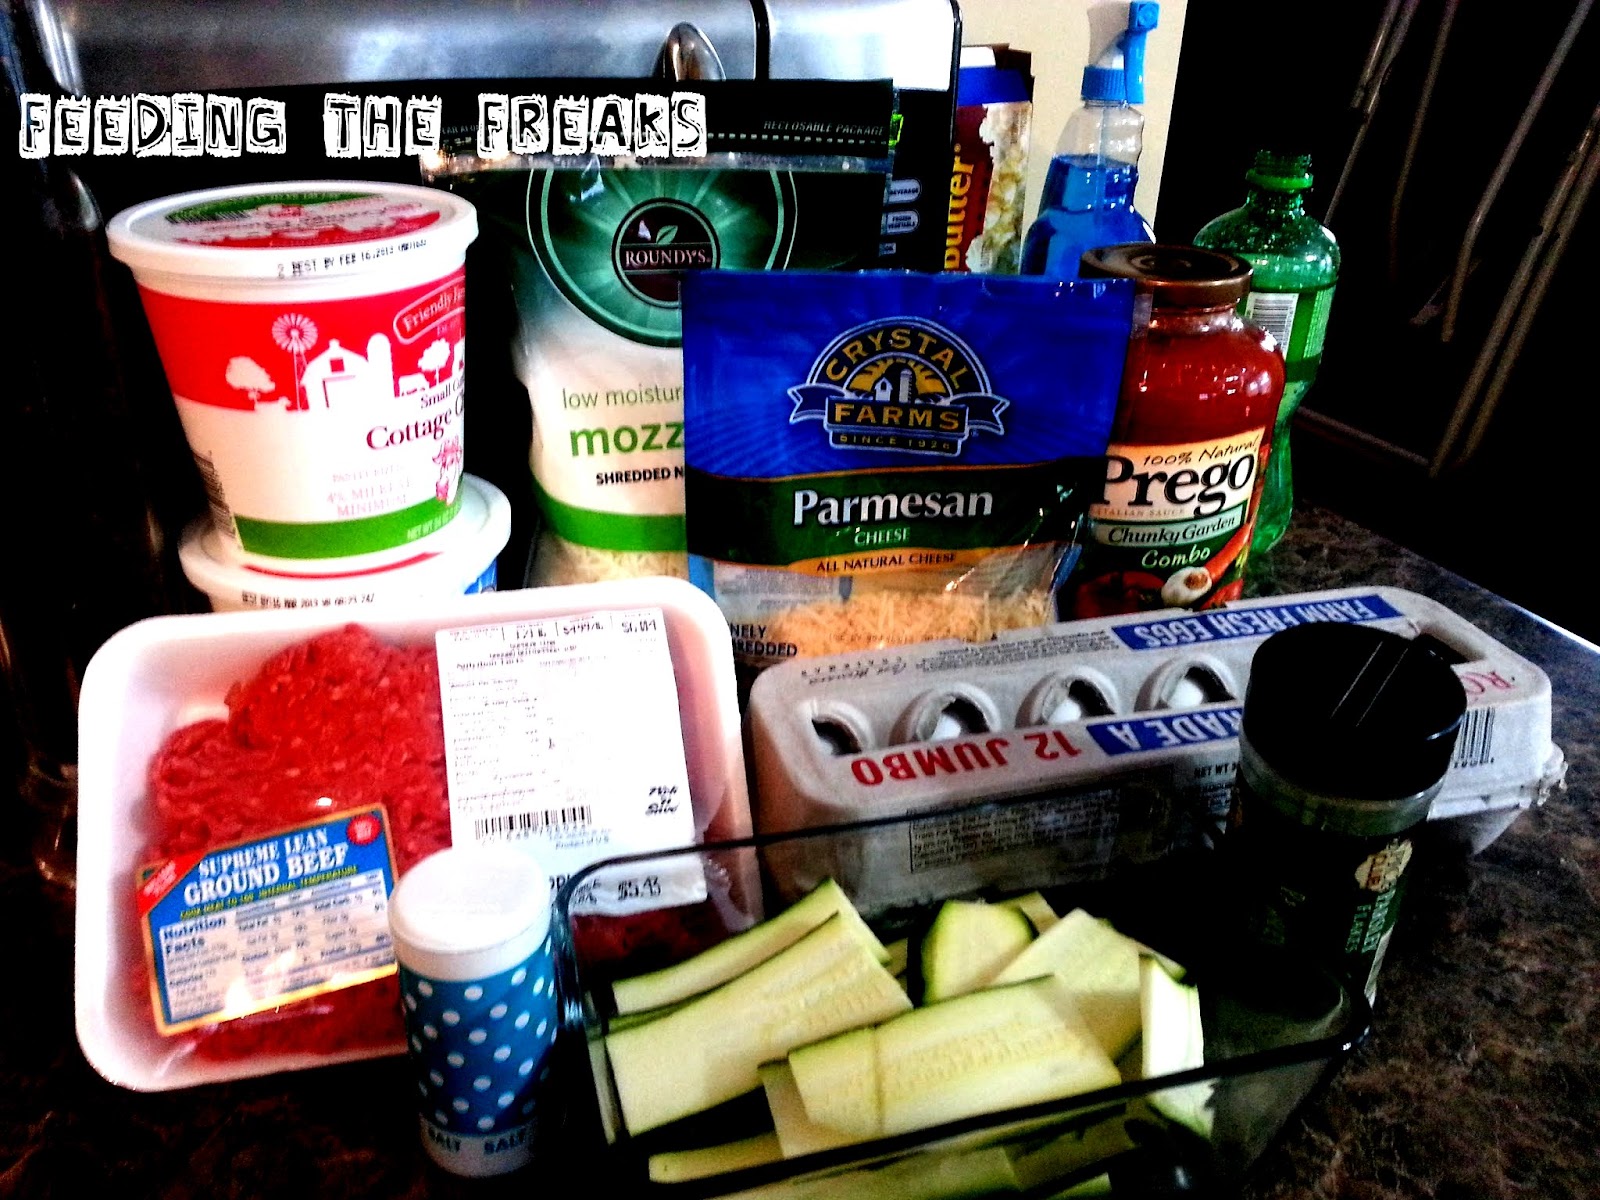
Ingredients:
1lb lean ground beef (Can use turkey if you’d like)
45 oz jar of spaghetti sauce
2 cloves of garlic, minced
32 oz of cottage cheese
4 cup mozzarella cheese, shredded
2 eggs
½ cup grated parmesan cheese
2 teaspoons dried parsley
Salt and Pepper to taste
4 medium to large zucchinis


First we will start with the zucchini! Now if you have a tool like a mandolin this is where your job gets easy. I personally don’t have one so I used a simple knife to cut it up into decent sized slices. You might have to come back and do this – I at first only cut up two and found that I needed to use four for mine.


Next we will put the ground beef into a decent sized pot and brown it. I added a little bit of salt and pepper in when I did this part. Once it’s fully cooked drain all the grease and put back into pot.


Now add the spaghetti sauce and the minced garlic in with the ground beef. Mix the ingredients well while bringing to a slight boil. Once it hits the boil bring down to a simmer and let cook for five minutes.


While the beef mixture cooks preheat your oven to 450 degrees. Grab cottage cheese, half of the mozzarella cheese, both eggs, half of the parmesan cheese, the parsley, and the salt and pepper. Mix well and set aside until the beef mixture is done.


Take enough of the beef mixture to have a thin layer covering fully a 9X13 pan. Then layer some of the sliced zucchini to cover the bottom as best as you can.


Now layer some of the cottage cheese mixture and then some of the beef mixture. To figure out how much you should use figure out how many layers you want. I did two layers so I did half and half. You will then put on another zucchini layer and continue until you run out of both mixtures. Top with remaining mozzarella and parmesan cheese.

Bake for 45 minutes.

Now look at that finished product… yup it pretty much looks like soup. The BBB (aka Big Burley Boy aka the bf) and his pop still ate it up. Seconds and all – but it just was NOT right. It bugged me so I plotted how to fix it and after much thought I figured out how to. I boiled a pot of macaroni noodles that I had left over from the mac n cheese night. As those were boiling I pulled all the zucchini slices from the lasagna and chopped them up to smaller chunks. I put them, the lasagna mixture, added about a tablespoon of chili powder, some garlic powder, salt and pepper, and heated it up. By the time the noodles were done the lasagna soup was fully heated up. Mixed it all together and voila! We ate that with a side of ghetto cheesy garlic bread and it was an amazing dinner.

So, keep in mind, Freaks....every meal is not going to be a win-win situation.  There will always be instances in which a new recipe just FAILS for some reason or another.  It is the truly adaptable cook who can take a fail and turn it into a WIN.  Sometimes the conversion becomes a new family favorite, so go for it...you never know what is awaiting you!  

Monday, October 22, 2012

Chocolate Spider Web Cupcakes

Cupcakes!?! Seriously, that is all you need to say to capture my attention. Whenever I see these heavenly little things, I secretly think, "mmm....CUUUUUPCAAAAAAKEEEEES!!!"  I will cut a bitch over a cupcake.  Imagine the power of the Hulk in the Avengers mixed with the excitement of Will Ferrell in the movie Elf right before he realized the department store Santa was a fake, and there you have it....cupcakes is serious business to me! The sad thing is, it's really hard to find a good cupcake in my town unless they are homemade. Our "specialty" bakeries that focus on them are not anything to brag about. Luckily, when I get to go see the BF in Wausau, WI, I get to hit up Sweet Lola's who has AMAZING and very creative cupcakes. (They have a Nutella one. Yeah, that's right, now I have you drooling.) All in all, though, we don't always have the time or energy to whip up a batch from scratch, and sometimes we feel a slight guilt about it. Nevertheless, you could also be one of those people where the idea of actually making cupcakes makes you giggle a bit inside as you relax with a glass of wine and a clean kitchen. In the end I have a recipe that works for everyone. It's a box mix with a little extra love added into it!


 Ingredients

1 cup of water
1 box of cake mix of your choice. As you can see, I quite obviously picked Betty Crocker's Chocolate Fudge
3 grade A large eggs
1 stick of non-salted butter
Cupcake wrappers
1 tub of white icing, found in any bakery area in your local grocery store


Melt the stick of butter in a large bowl.  Add the cake mix, eggs, and water.


Using a mixer, mix for one minute on low speed (or mix by hand until all batter is smooth). After that, blend the mixture for one minute on high (or find a big guy with muscles who can whip that up into a frenzy). You will see it start to fluff during the minute on high.


Now, in a cupcake pan, lay your cupcake wrappers down. Using either an ice cream scoop or melon baller, add your batter into the liners . If you have an ice cream scoop, do one scoop, for a melon baller, add three scoops. If you don't own either, use a spoon and fill them til they are half way full. (Don't feel bad if all you have is a spoon! That's all I had until I borrowed my friends melon baller. That thing sat in my purse for three days before I remembered to take I had it.) Bake the cupcakes at 350 for 10-20 minutes. Check with tooth pick to make sure cupcakes are done. To do this poke cupcake with a toothpick and once the toothpick comes out clean your cupcakes are done!


Once these are finished you should be seeing something along the lines of this. Those creases you are seeing are  because I had to do the three scoop option. If you have an ice cream scoop you wont be seeing those. But these puppies are going to have lovely frosting all on top of them so why do we care?


 Now, let's talk frosting. Feel free to just use store bought frosting if you want! But for me - I was trying to get these to taste as close to home made as possible. For the frosting I used Hershey's Perfectly Chocolate frosting recipe. I don't have a picture of the ingredients but I will set ya up nicely for this recipe.

Ingredients
One stick of butter
2/3 cups of cocoa (I used Hershey because it's what I had)
3 cups of powdered sugar
1/3 cup of milk
1 tsp of vanilla extract


 Put cocoa and butter into bowl and mix until creamy. Now take the powdered sugar and milk and add them into the bowl alternately, blending the whole time. Feel free to use extra milk if you need to. Once powdered sugar and milk aare completely mixed with the butter, add the cocoa and vanilla, and mix  well. Load this stuff onto your cupcakes and then use your tube of white icing/frosting to make the spider web look.


Monday, October 15, 2012

Deviled Eggs into Devil Eyes


The leaves have turned, the air is cool, and fall is here. I love fall. I love everything about it. And it holds my two favorite holidays; Halloween and Thanksgiving. As Mama Lanette already said we will be dedicating our blog for the month of October to Halloween, and let me tell you, I'm pumped!!! I started my Halloween cheer early this year at our local Zombie Pub crawl where I dressed like a zombie pickle. Yes, you heard right - and are seeing right - a zombie pickle. It was dill and it was kosher. The BF went as a zombie lumberjack which worked out well with his 6 foot frame and his Duck Dynasty-like beard. I wish I could provide more details on how exactly the crawl went, but this little pickle got pretty pickled, and the only thing I really remember is hitting up a local grilled cheese restaurant and eating something that was very, very delicious.

So, my first Halloween themed recipe is a play off of deviled eggs to make them look like eyes. Aka, Devil Eyes.


Ingredients:
6 grade A eggs
2 tablespoons of Mayo - I used mayo with olive oil
2 tablespoons of sour cream
1 teaspoon of yellow mustard.
Garlic powder, salt, and pepper to taste.
Paprika for dusting.
Can of sliced black olives.


Now lets talk boiling eggs. I know, it sounds weird. Most of us are just, "Well...you put them in water and boil. The end." My method is to boil them and walk away until I remember them. But there is a method for the perfect boiled egg. No egg white in your water. No green tint to the outside of your egg yolk. What you do is you place your eggs in a single layer on the bottom of your pot and add cold water until it's 1-2 inches above the eggs. Bring water to a full boil and then take off the burner and cover for 10 minutes. And there you go - perfect boiled eggs. I really don't see my self ever doing this unless I had someone to impress though! Haha.


 Now once the eggs have been boiled and cooled down (you can use a bowl of ice water to hurry that up), take the shell off of the eggs and cut them in half. In one container put the egg yolks in while leaving the egg whites in another container. Mix mayo, sour cream, mustard, salt, pepper, garlic powder, and egg yolks by mushing with a fork and then whipping with a fork until creamy. Feel free to taste to see if you want to add in extra of any ingredient.


Now to get the mixture into the egg whites there are plenty of ways you can go around it. You can use some cake piping and tips. This is if you want to get fancy with it and have one of those neat swoops. Now personally, this isn't really going to be needed if you want to add the eyes. We will be pressing them into the egg yolk mixture, so anything fancy will end up being messed up. What I did was use a half a tablespoon to scoop it in. With it being smaller than a spoon and a little more round it helped me get it into their nicer. You can also use a butter knife to help with any mixture that doesn't want to come out of the tablespoon. Lastly we are going to pop open that can of black olives and take out one slice for each egg and place it in the middle of the egg yolk area on the egg. This will be what makes them look like deviled eyes. Lastly, dust with paprika in any way you want and BOOM! You're done!


Monday, September 17, 2012

Chocolate Chip Banana Bread


Chocolate Chip Banana Bread


I began making this chocolate-chip banana bread about six years ago when I first moved to Minneapolis and in with the S.O.B.  He had a horrifying penchant for Nutri-Grain bars for breakfast, naively taken in by the shrewd marketing ploy of using the word “Nutri” in the name of the product (I am still screaming in horror a bit inside).  Although chocolate-chip banana bread is not symbolic of healthy, nutritious eating, its ingredients are controlled by preparing at home, there are no preservatives or unknown additives whose names I cannot pronounce, and as the S.O.B. likes to say in a sappy voice, “It’s made with loooove”.   Ahem…it also freezes extremely well, so making a large batch is well advised.  

As a tip: I prefer to use bananas that have been frozen.  What?!?  You throw over ripe bananas away?!?  NO!  Stop doing that!  When your bananas become overripe, throw them in the freezer, people!  What, are you some fancy pants rich person who can afford to throw bananas around aimlessly and without thought?  The plus side of freezing ripe bananas is when you need a banana or two for a smoothie or baked product, they are right there, happily waiting to be used for a higher purpose.   Just a forewarning, though, when frozen bananas thaw, they become a little nasty looking.  The peels turn black, and they are super squishy; however, for this recipe, it removes the step of mashing them.  A minute saved is a minute gained for something fun, like shopping for Clinique products, buying a new Coach bag, or just a good old French tip manicure.

Ingredients:
2 cups flour
½ teaspoon baking soda
1 teaspoon baking powder
½ teaspoon salt
½ teaspoon cinnamon
½ cup brown sugar
½ cup white sugar
½ cup (1 stick) butter
1 teaspoon vanilla
2 eggs, beaten
4 bananas, mashed
5 tablespoons milk
½ bag chocolate chips (4 ounces)

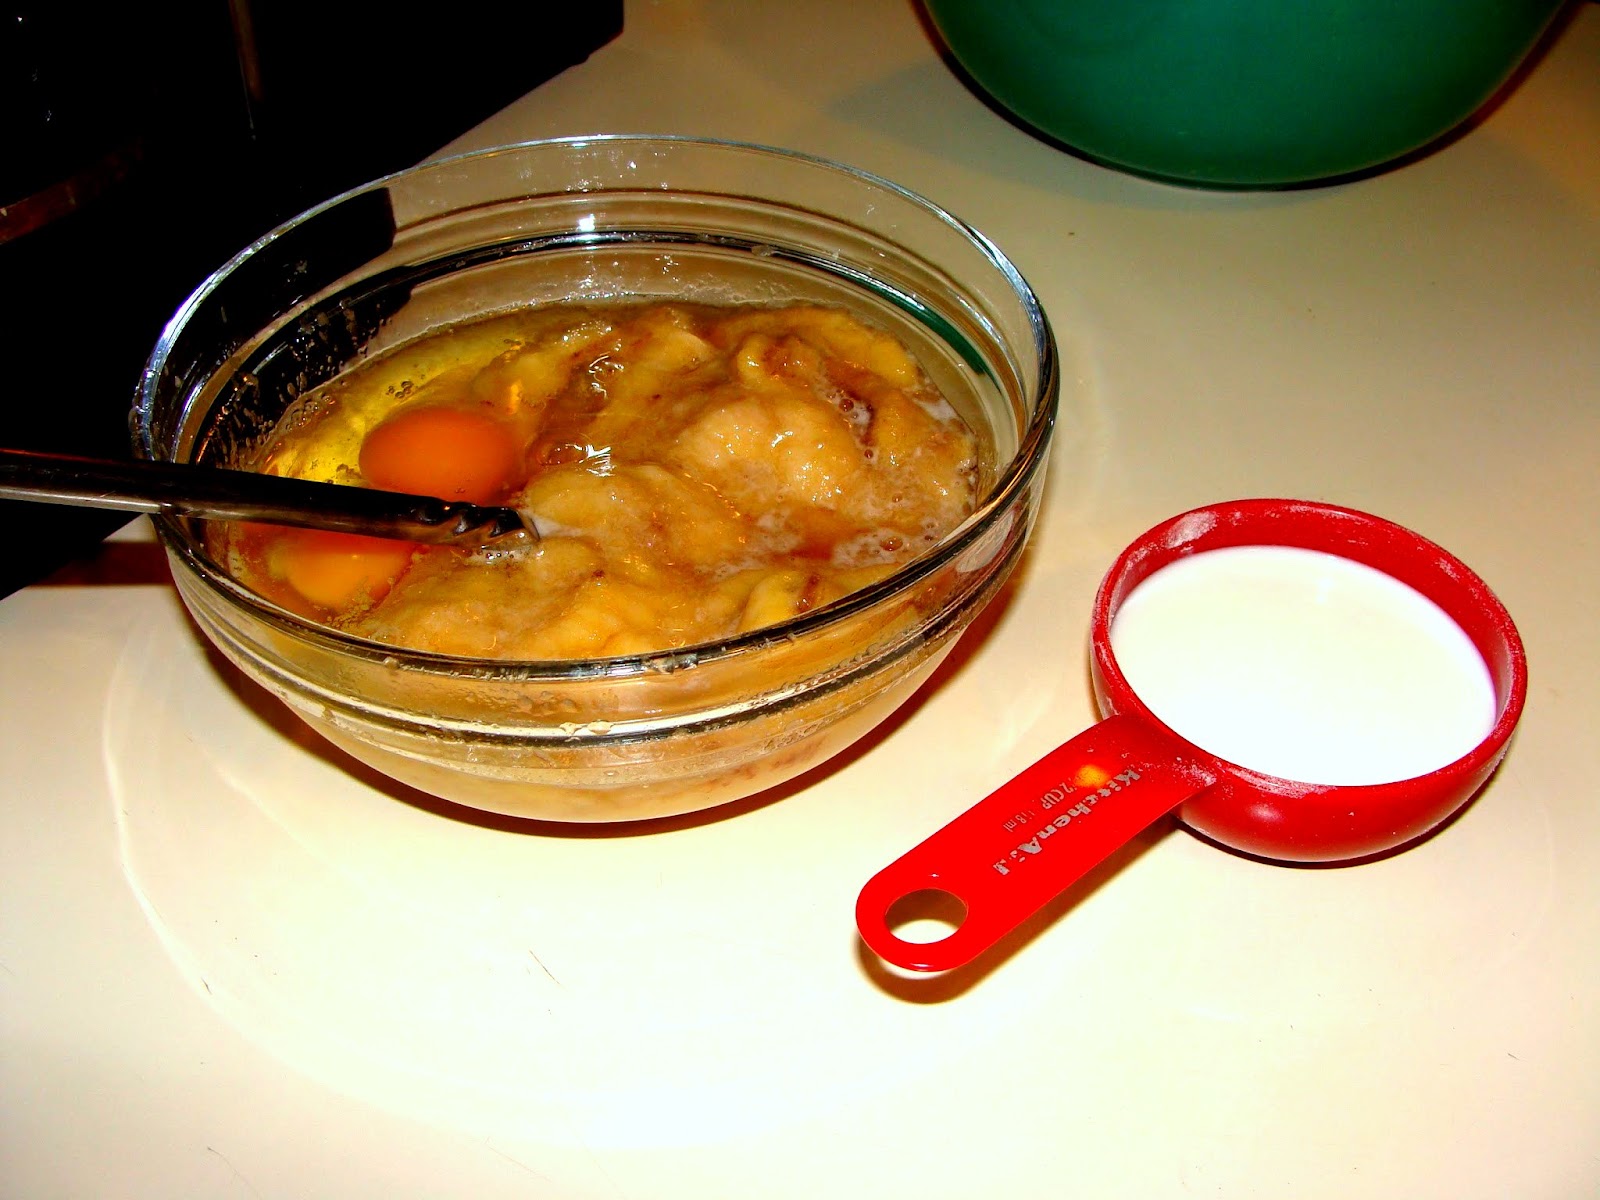
Preheat oven to 350 degrees. Sift together flour, baking soda, baking powder,salt, and cinnamon. In stand mixer, or with a hand mixer, cream sugars, butter, and vanilla.  Add mashed bananas and beaten eggs to creamed mixture. Mix dry ingredients into wet ingredients until just combined. Stir in milk and chocolate chips. Spread into oiled and floured miniature loaf pans. Bake at 350 degrees for 25-30 minutes.  Test by  poking with a toothpick, if it comes out clean, the loaves are done.

Yield:
Mini loaf pans = 8
Muffin pan = 12
Regular loaf pan = 2

After removing from oven, remove loaves or muffins from pan and cool on a baking rack.  Once cooled, wrap in freezer wrap or plastic zip bag, and store in freezer.  Serve as needed.  I take one out in the mornings and pop it into the S.O.B.’s lunchbox.  By the time he wants his breakfast, it is thawed and ready to go.  If not, he sticks it in the office microwave for about 30 seconds, and it is reborn to its original warm and melty, chocolately-chippy glory.  If overnight guests, stick them in a warm oven for a few minutes.  They will taste like they are freshly baked, and your guests will be amazed at how early you got up after drinking that gallon of sangria just to bake them a breakfast treat!


Next week, fellow freaks!  <3  Mama Lanette