Showing posts with label milk. Show all posts

Tuesday, March 12, 2013

It Ain't Easy Being Green Soup!

So this week's theme is asparagus. It's delicious and nutritious!!! Yeah that's right, I said that. Honestly, I love this little stalk of a vegetable. I love it steamed, roasted, grilled, and any other way you can think of eating it. I really played around this week with my recipe and I hope you all enjoy it as much as I did!


2 bunches of asparagus
2 15 ounce cans of white navy beans
3 medium russet potatoes, peeled and diced
2 cups of chopped broccoli
2 leeks, white and pale part only, diced
1 yellow onion, diced
5 cloves of garlic, minced
2 14.5 cans of veggie stock
2 cups of milk
1 cup of water
2 bay leafs
2 teaspoons of white or black pepper
2 teaspoons of paprika
Salt to taste
2 tablespoons of olive oil


 First we will start by cleaning up the asparagus. To break off the bottom just slightly bend the bottom of the stalk and let it snap where it wants to. It's pretty easy to clean up asparagus and the more you do it you'll find that you know pretty much where it's going to break. Now cut the asparagus into about one inch pieces. 


Take both tablespoons of olive oil and heat up in a decent sized pot. Once warm add in minced garlic and diced onion. We're going to satuee them for about five minutes. You don't have to worry too much about them being a certain texture since we will be cooking them longer. While the garlic and onion is sauteing boil the small amount of potatoes. You will boil these just like you would when making mashed potatoes. You want to make sure that you can get a fork through them easily before taking them off the stove. 


Now take the asparagus, broccoli, and leeks and add them in the pot with the onion with one cup of water. Open both cans of navy beans and drain and rinse well. Add navy beans into pot and stir well and put lid on pot. You're going to check back once every couple of minutes to mix up and to check texture. We want all the veggies to be very soft, almost over steamed.


Once the potatoes are done, they should finish before the veggies, drain and set aside in larger bowl. Once the veggie mixture is done you will also add this to the mixture. Mine finished once all water was out of the pot. 


Now use a blender or food processor to blend together the asparagus, beans, russet potatoes, broccoli, garlic, onion, and leaks. I personally have a small, cheap, food processor. All this means is that I would have to blend the food together about 5 times total and that my soup wouldn't be extremely smooth. I was ok with this - I like chunky soup. Your texture of your soup will depend completely on what appliance you have! 
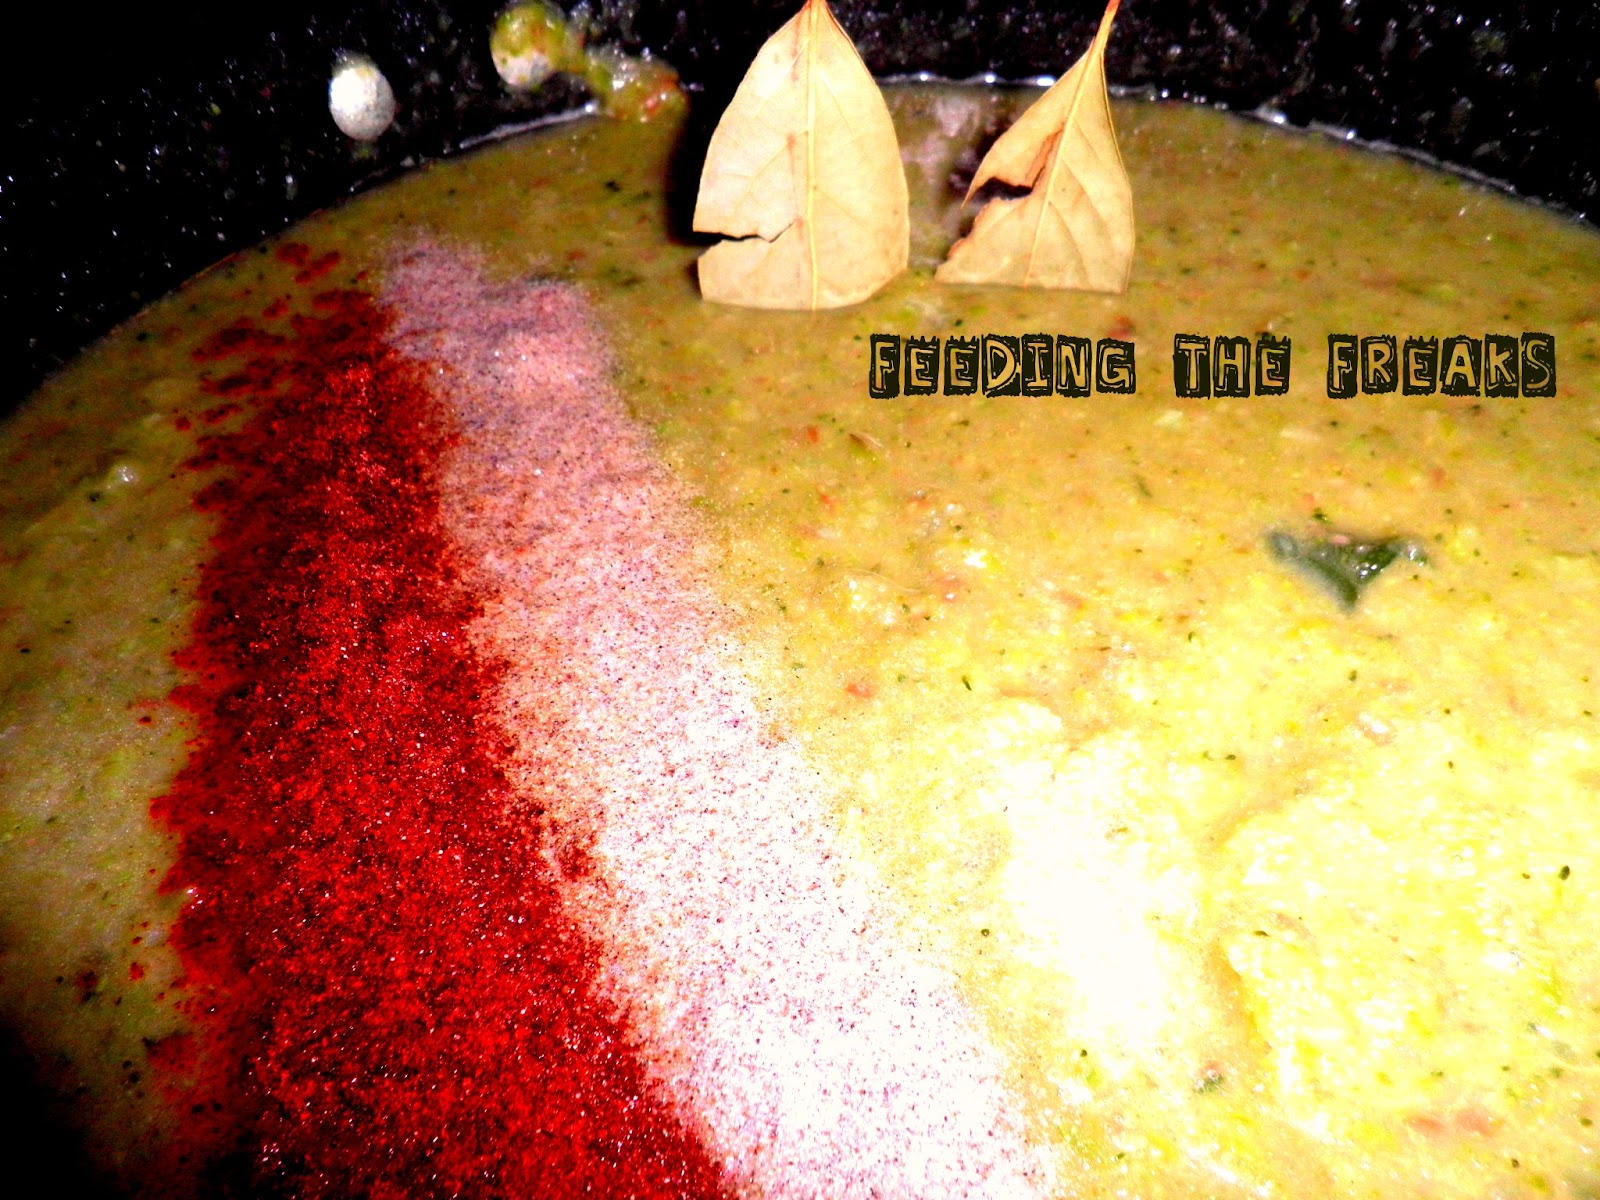


With veggies being blended add back into pot that you sauteed them in. We will then add both the cans of veggie stock, milk, pepper, salt, paprika, bay leafs, and whatever else seasoning you would want. (We added a good amount of cayenne pepper. We're both sick and the extra kick will help with out plugged noses.) 


Simmer on stove for about half a hour and then serve. Mmm. We both feel in love with this! And the best thing is the left overs will easily freeze! Which is always a bonus in my book.


Wednesday, February 6, 2013

Easy Peasy Mac-N-Cheesy


Easy Peasy Mac-N-Cheesy

Mama Lanette loves macaroni and cheese!  Alyssa JoJo loves macaroni and cheese! Being the homegrown Midwestern foodie freaks they are, the cheesier, the better.  Everybody loves a good homemade macaroni and cheese recipe, and this one is super easy!  Well, actually, Grandma JoyJoy doesn’t care for macaroni and cheese.  I guess it has something to do with growing up in the days when Catholics never ate meat on Fridays, (blah blah, Catholic guilt, blah, blah) not just during Lent as we are apt to do in modern times…if even then (sorry Baby Jesus!).  Even so, Mama Lanette and Alyssa JoJo did not let Grandma JoyJoy’s dislike deter them from an intense love of the Mac-N-Cheese.   Oh no!  We moved far beyond the blue box blues, with its artificial neon orange powder, and into a world of naturally-hued tangerine dreams. 

 Once you realize how easy homemade Mac-N-Cheese can be, you might just never look back.  Soon you will be adding green chilies and salsa, making it Mexican style, or adding tuna and some mushrooms to create the perfect cheesy tuna mac.  Adding a little ham, green peppers and onions is another blissful concoction that is a perfect use for leftover Easter or Christmas ham.   And, true to Mama Lanette style…it freezes beautifully!  You don’t think the SOB and I eat an entire pan of this, do you?  Oh no, my little freaks!  Mama Lanette cannot be trusted to let leftover Mac-N-Cheese sit in the fridge, the compulsive overeating disordered little gal she is.  As soon as that pan cools off, poof!  Off she goes, cutting it into “perfect for two” sized pieces, wrapping it in foil, labeling it with her hot pink Sharpie, and popping it into the freezer.  It is as delightful thawed and reheated in the oven as it is the first time around.   So here we go freaks!  Try them and let us know what you think!

Ingredients

1 pound box dried pasta.  Once again, Mama Lanette likes the fun shaped stuff, much like a small child.
1 can cheddar cheese soup
4 cups shredded cheddar cheese.  I prefer sharp cheddar, but use whatever you have on hand or prefer.  You can even go with something other than cheddar if you want to get crazy!
1-1/2 cups milk or half-and-half
1 cup Panko bread crumbs
Salt and pepper to taste

Preheat oven to 350 degrees

Bring a large pot of water to boil and add pasta.  Cook according to package instructions.  Drain.
 
While pasta is cooking, in a large bowl, combine milk and the can of cheddar cheese soup.  Stir to combine.  Add salt and pepper if desired.  Mix in shredded cheese. 

Add drained, cooked pasta and combine gently until all ingredients are well incorporated.  Spoon mixture into a baking dish; 4 quart or cake pan size.  Top with Panko bread crumbs.  Bake for 25 minutes.  Turn oven on broil for a couple minutes if you want a nice brown top. 

Bam!  Ain’t that a nice looking pan of mac?  And YOU made it, so you can control what goes into it, and even better, what is going into the little tots’ bellies.  Use skim milk instead of whole or half-and-half if you want to cut the calories a bit.   I’m not saying this is a healthy dish, but sometimes food just tastes and feels better when you made it yourself and can attest to the ingredients.

Next week, freaks!  <3 Mama Lanette


Thursday, September 20, 2012

Tuna Casserole

Sorry for this being a day late! I have to say that Mama Lanette gave me a nasty cold which has ended with me sleeping a good 17 hours out of the day. Some how though I managed to get in a recipe for you all. Something simple, hot, and what I consider a comfort food. Tuna Casserole. Yummmm!

Ingredients:
2 103/4 ounce cream of mushroom soup
2 cups of frozen peas
2 12 ounce cans light tuna in water
5 cups of cooked egg noodles
2 garlic cloves, minced
1 cup of milk
1/2 cup of bread crumbs
Salt and pepper to taste


Ingredient notes: Garlic is not needed for the dish - I just love garlic so much I try to add it to everything. You can also pick the 98% fat free cream of mushroom soup to try and make the dish a little healthier. And lastly you can add butter to the bread crumbs to make a tastier breaded top.


Preheat oven to 400 degrees and bring a pot of water to boil. Add egg noodles and boil til cooked. While noodles boil add cream of mushroom soup, frozen peas, tuna, garlic, milk, and salt and pepper into a 8X11 pan and mix well. Drain noodles and add noodles to mixture and mix well. Place dish in oven and bake for 20 minutes. Take out and sprinkle bread crumbs over dish and bake for another ten minutes.


Recipe Notes: My favorite thing to do with this dish is to mix some powdered Parmesan cheese in with it. It seems to just make it even more tasty!!


Hopefully by the time it comes to do next weeks recipe I'm feeling a little bit better. The last thing I want to do right now is spend any time in the kitchen. Bleh!!! If Mama Lanette was here I would be giving her dirty looks for passing on her sickness to me. Boo!!!

xoxo
AlyssaJoJo

Monday, September 17, 2012

Chocolate Chip Banana Bread


Chocolate Chip Banana Bread


I began making this chocolate-chip banana bread about six years ago when I first moved to Minneapolis and in with the S.O.B.  He had a horrifying penchant for Nutri-Grain bars for breakfast, naively taken in by the shrewd marketing ploy of using the word “Nutri” in the name of the product (I am still screaming in horror a bit inside).  Although chocolate-chip banana bread is not symbolic of healthy, nutritious eating, its ingredients are controlled by preparing at home, there are no preservatives or unknown additives whose names I cannot pronounce, and as the S.O.B. likes to say in a sappy voice, “It’s made with loooove”.   Ahem…it also freezes extremely well, so making a large batch is well advised.  

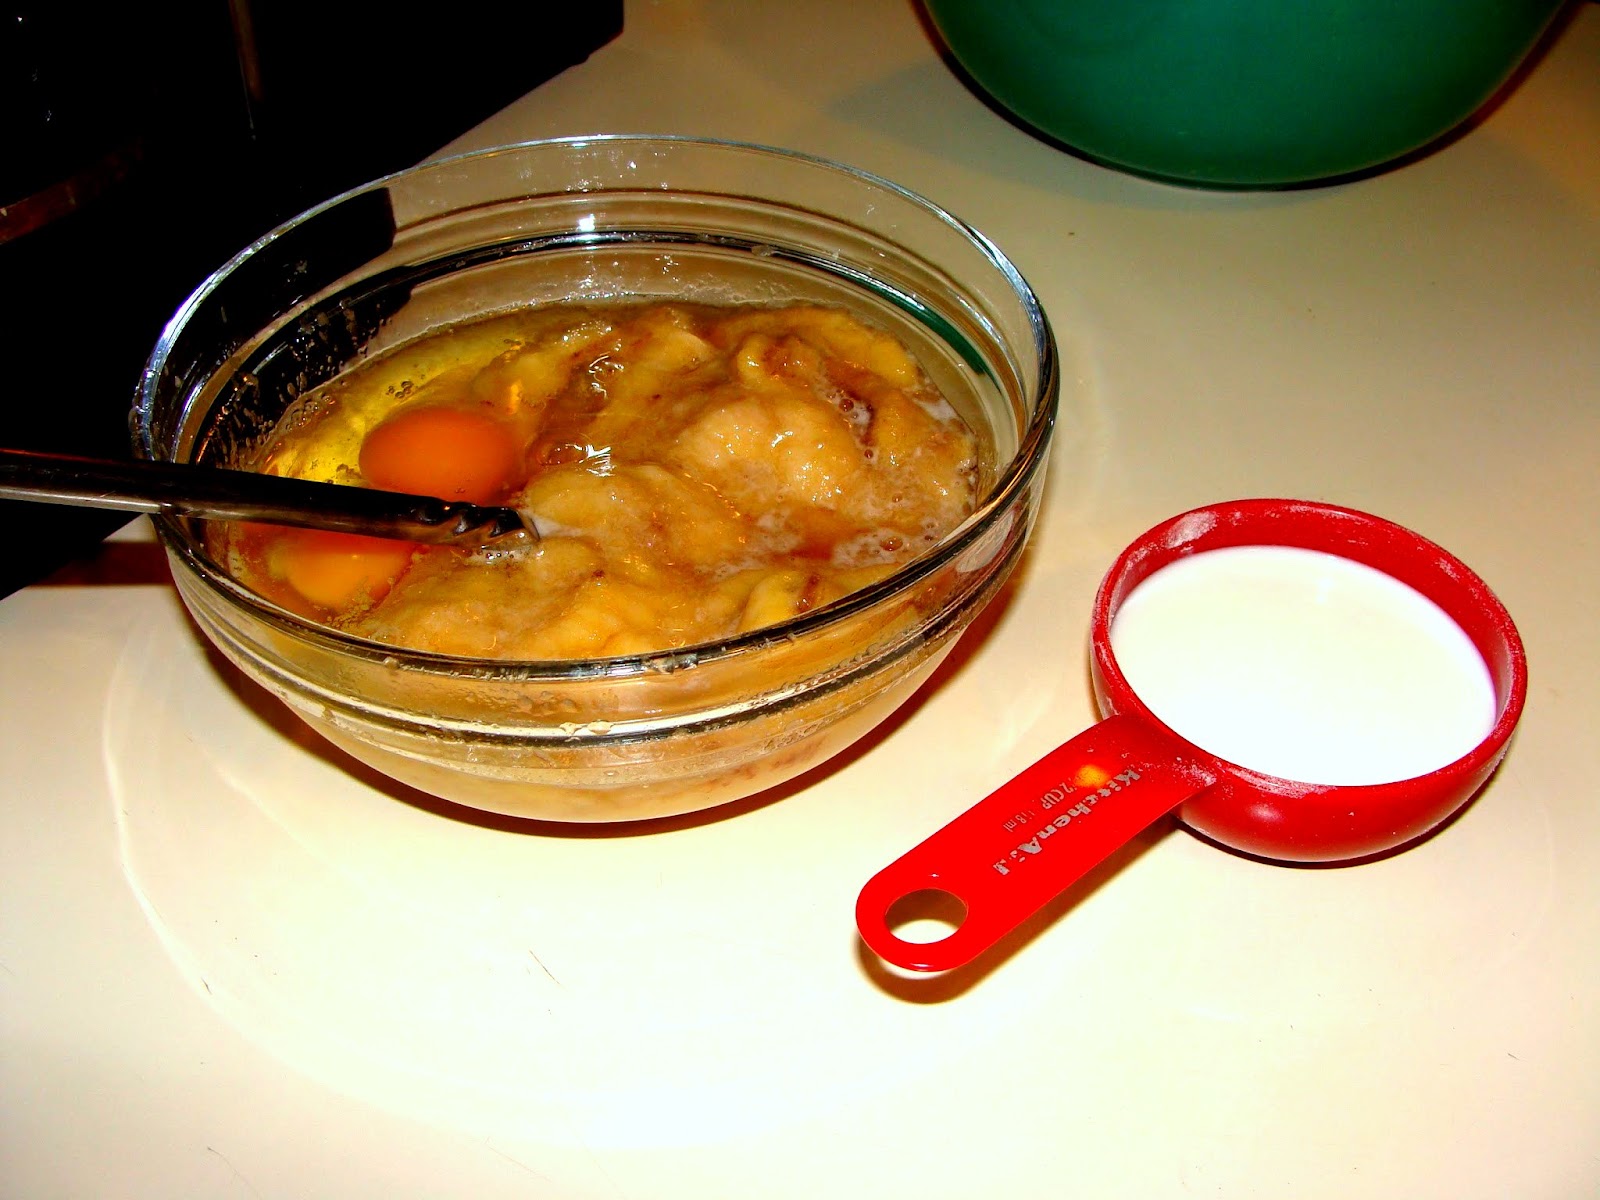
As a tip: I prefer to use bananas that have been frozen.  What?!?  You throw over ripe bananas away?!?  NO!  Stop doing that!  When your bananas become overripe, throw them in the freezer, people!  What, are you some fancy pants rich person who can afford to throw bananas around aimlessly and without thought?  The plus side of freezing ripe bananas is when you need a banana or two for a smoothie or baked product, they are right there, happily waiting to be used for a higher purpose.   Just a forewarning, though, when frozen bananas thaw, they become a little nasty looking.  The peels turn black, and they are super squishy; however, for this recipe, it removes the step of mashing them.  A minute saved is a minute gained for something fun, like shopping for Clinique products, buying a new Coach bag, or just a good old French tip manicure.

Ingredients:
2 cups flour
½ teaspoon baking soda
1 teaspoon baking powder
½ teaspoon salt
½ teaspoon cinnamon
½ cup brown sugar
½ cup white sugar
½ cup (1 stick) butter
1 teaspoon vanilla
2 eggs, beaten
4 bananas, mashed
5 tablespoons milk
½ bag chocolate chips (4 ounces)

Preheat oven to 350 degrees. Sift together flour, baking soda, baking powder,salt, and cinnamon. In stand mixer, or with a hand mixer, cream sugars, butter, and vanilla.  Add mashed bananas and beaten eggs to creamed mixture. Mix dry ingredients into wet ingredients until just combined. Stir in milk and chocolate chips. Spread into oiled and floured miniature loaf pans. Bake at 350 degrees for 25-30 minutes.  Test by  poking with a toothpick, if it comes out clean, the loaves are done.

Yield:
Mini loaf pans = 8
Muffin pan = 12
Regular loaf pan = 2

After removing from oven, remove loaves or muffins from pan and cool on a baking rack.  Once cooled, wrap in freezer wrap or plastic zip bag, and store in freezer.  Serve as needed.  I take one out in the mornings and pop it into the S.O.B.’s lunchbox.  By the time he wants his breakfast, it is thawed and ready to go.  If not, he sticks it in the office microwave for about 30 seconds, and it is reborn to its original warm and melty, chocolately-chippy glory.  If overnight guests, stick them in a warm oven for a few minutes.  They will taste like they are freshly baked, and your guests will be amazed at how early you got up after drinking that gallon of sangria just to bake them a breakfast treat!


Next week, fellow freaks!  <3  Mama Lanette